Step by step process for creating my final project - a desktop arcade machine
1) Research

|
Looking up simply "desktop arcade machine" returns thousands upon thousands of videos of people building their ideal arcade machine, from scratch. A lot of my project was inspired by Byte Sized Engineering's video. It was incredibly in-depth and answered many questions I had. From there, I did little research and decided to take on as much as I could alone.
|
2) Sketch ideas
I would post pictures of my 3-4 pages of notebook dedicated to my final project, however I turned it in today and no longer have access to it. My lack of planning ahead cost me some points here, but if you wish to see my ideas, go to pages 40-ish to see the start of my final project documentation.
3) Order items
|

|
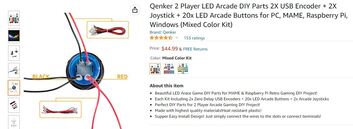
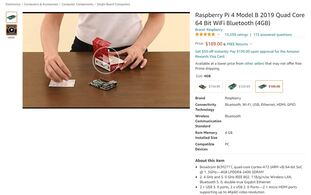
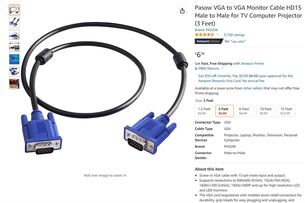
I was able to find an old monitor that used VGA, so I needed to find a new VGA to VGA cord, and then a VGA to HDMI Mini, so that the monitor can connect to the Raspberry Pi. I also ordered a standard 2-player joystick and buttons kit along with the extremely overpriced Raspberry Pi 4. All items shipped swiftly and I had no incident with any items.
|
4) Design parts for CNC Router in Inventor
Unfortunately, I don't have screenshots of this however I can explain the process. I made a 3D part that gave me the rough size of the entire machine. From there, I made a file for every part I needed to route. In total, I had 10 pieces I needed to route (x2 sides, bottom, back, top, arcade logo, under lip, monitor frame, control surface, and control surface support).
5) Set up tool path in Fusion 360
My lack of due diligence left me with no software pictures, but I can, again, explain the process. I must also note I have through documentation in my notebook of this process. I needed to open every part, set up the files such that the mill makes 3 passes along my 0.475 inch thick board. I ran into a major error when I was trying to route. All of the parts were set in the middle, rather than the bottom left. This meant I wasn't able to start routing for another 15 minutes while I corrected this critical error.
6) Route the parts
I was in quite the rush while routing, because I started routing with 30 minutes left in the school day... on the last day to use any machinery. I was in a rush to get it done and I didn't get pictures. In hindsight, I would've started my project earlier so I wasn't so rushed. This process took roughly 45 minutes and I got 11 pieces out (double printed a piece). After this, I was left with parts that were precisely cut into the sizes I needed, but not the fine quality I needed. Next, I needed to aggressively sand every piece to eliminate the chance of a user of my machine getting a splinter.
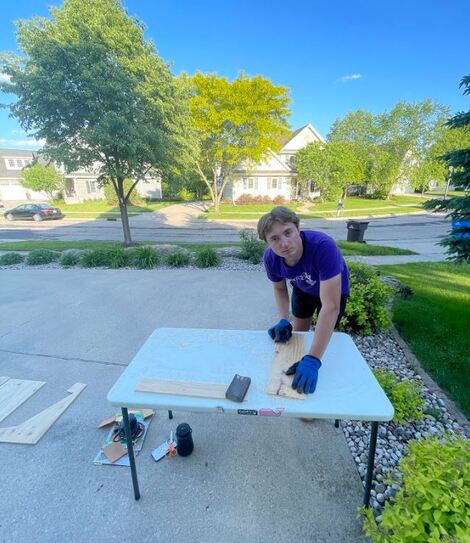
7) Sanding the wood

|
Sanding was most likely the hardest task in terms of physical exertion. I had to sand every surface of every piece. I used 120 grit then 240 grit sandpaper of every part to remove any apparent texture of the board. This worked in the most part, minus the knots in the wood that will stand their ground like their life depends on it.
|
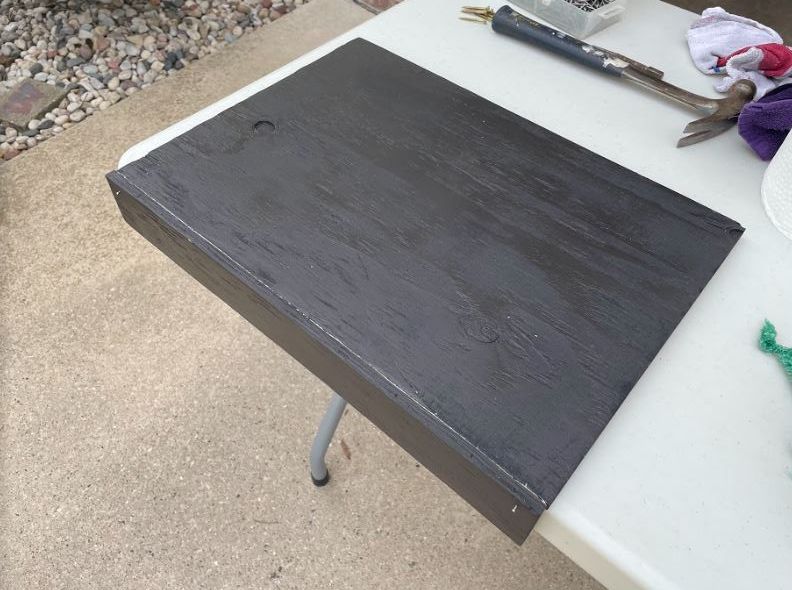
8) Spray painting
|
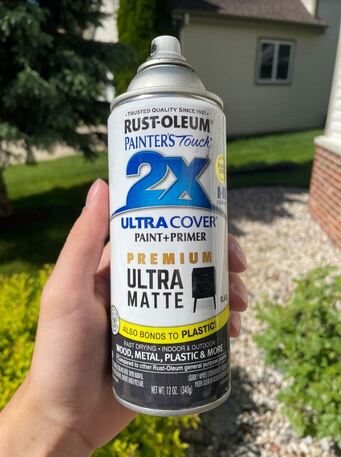
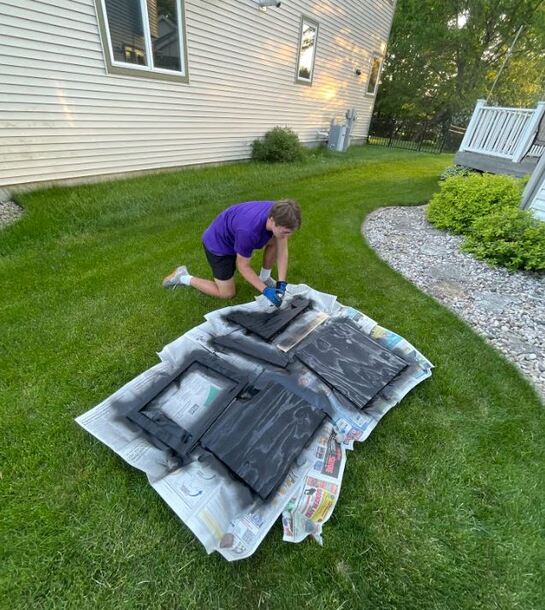
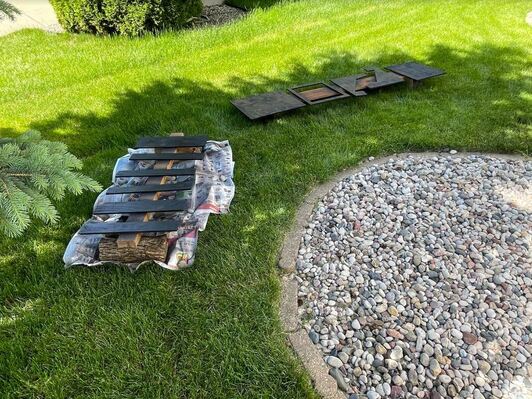
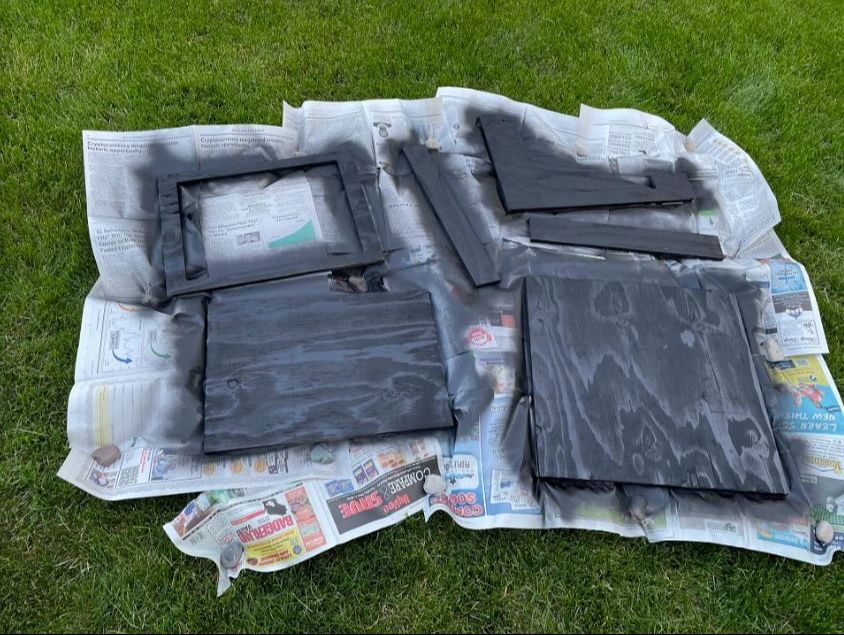
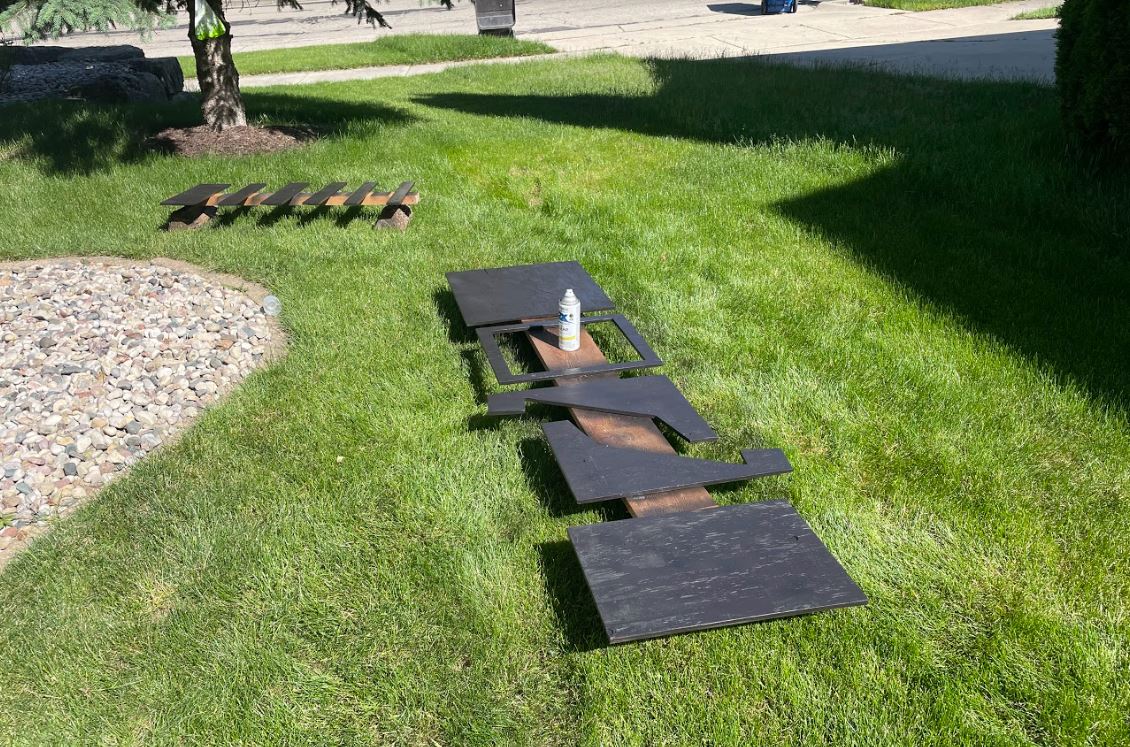
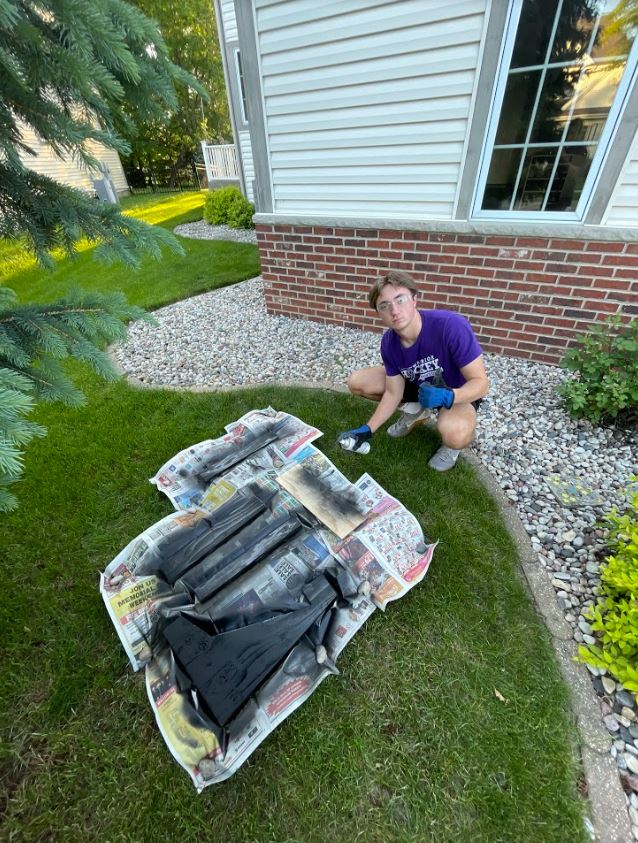
For the first coat, I used Black spray paint on the showing surface, and the edges for every part. This was a relatively quick process and I let the paint sit over night.
|
9) More spray painting
|
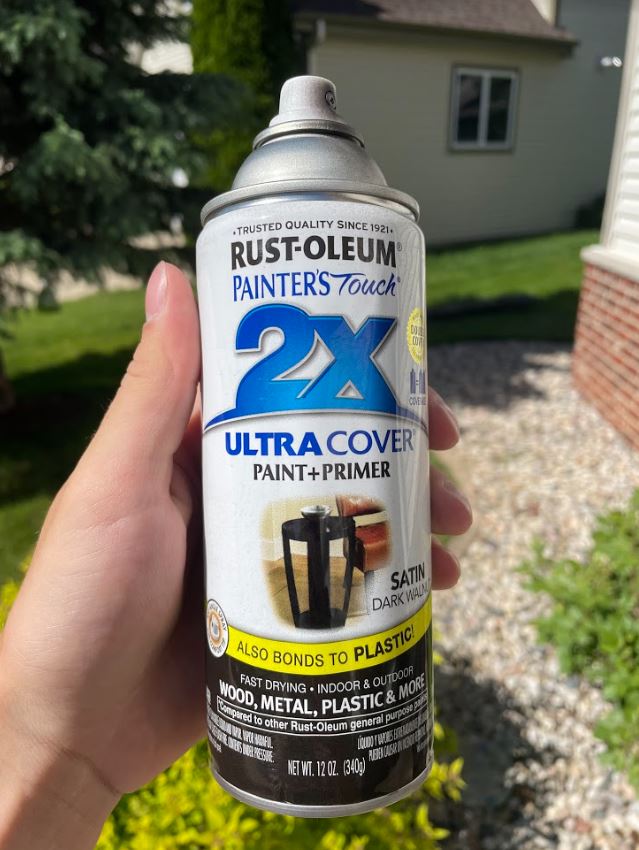
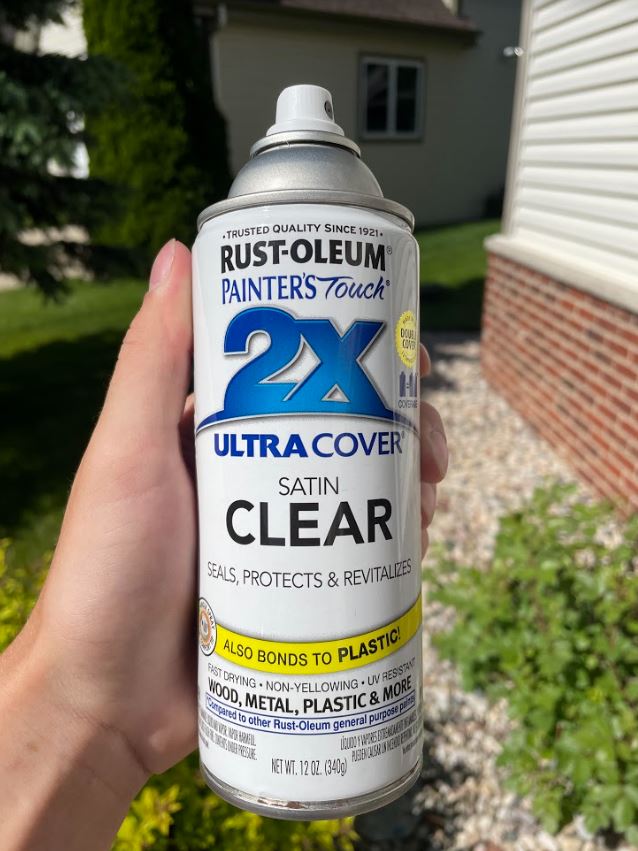
The next day, I applied a coat of Dark Walnut, a more brown/black color. Later, I applied another coat of Dark Walnut, and finally I applied a coat of clear protective paint. Rest between coats was 4 or more hours on average.
|
10) Modify special pieces
Before sanding:
After sanding:
|
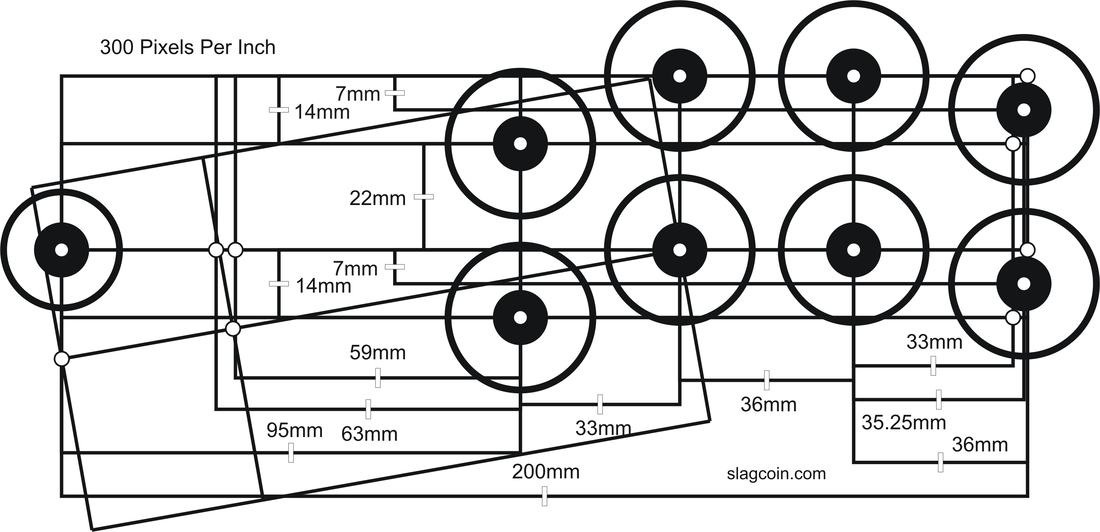
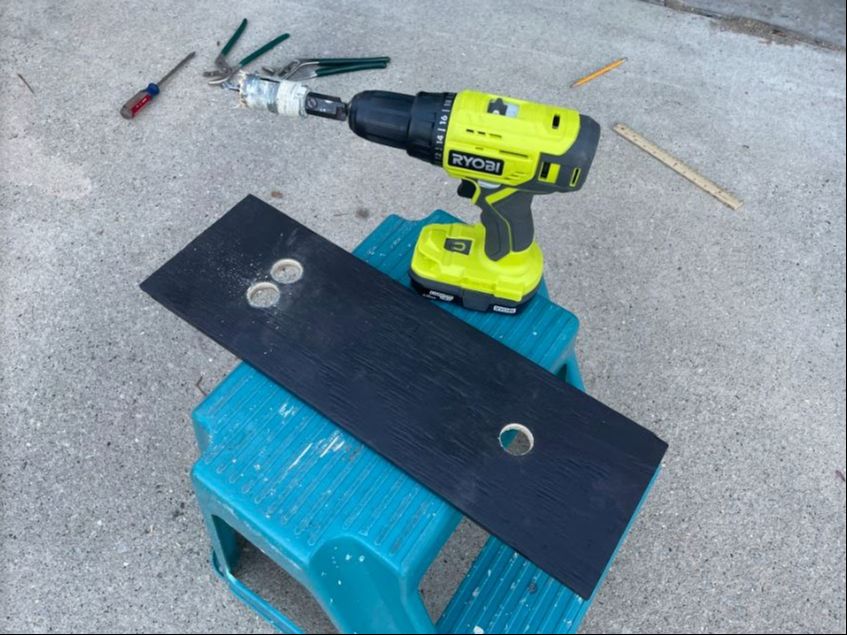
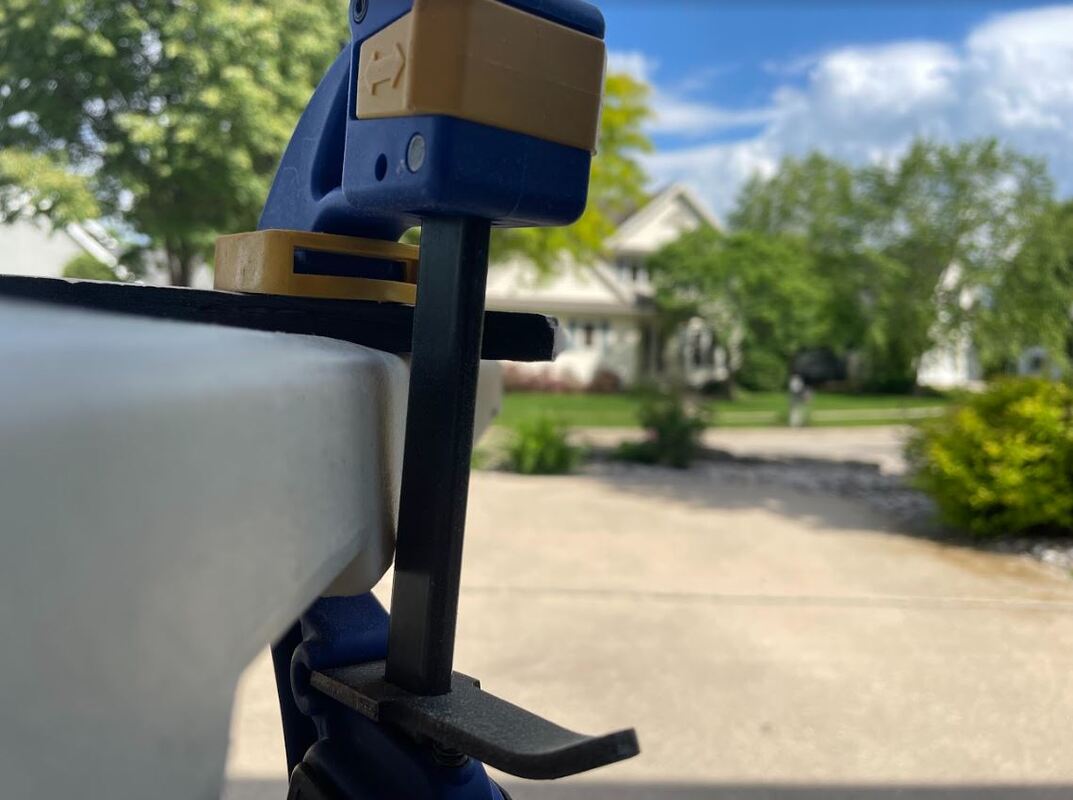
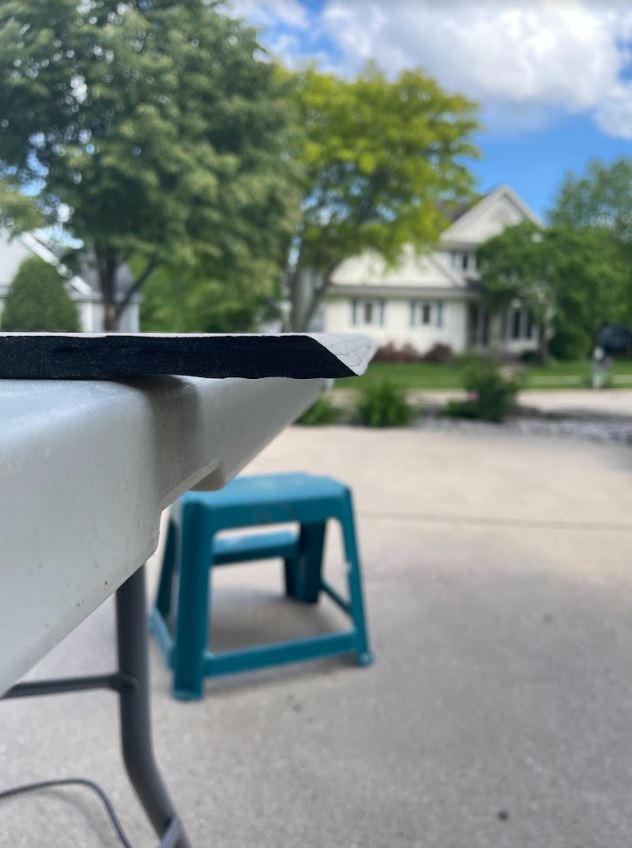
I had two parts that required special attention. That was the control surface and the monitor frame. The control surface needed 9 holes: 8 for buttons, and 1 for the joystick. After researching button layouts, I used the layout to the left. I mapped out every hole and then made the cuts. Next, I needed to sand down one edge on the monitor frame so that it sits flush with the control surface. The frame sits at a ~60 degree angle compared to the control surface. So there is a consistent look throughout the project, I took the time to sand down the edge. I used 36 grit sandpaper and then 120 to smooth it out.
|
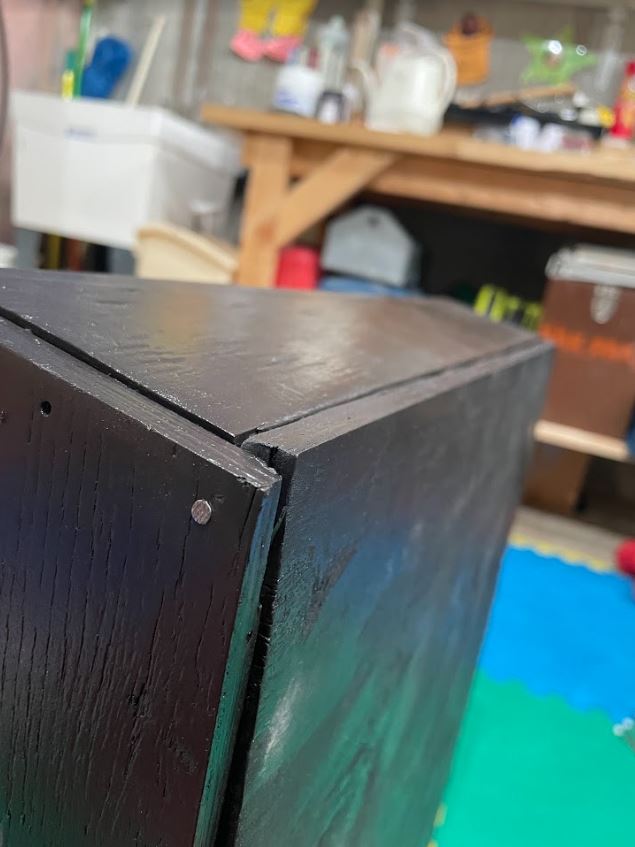
11) Glue & Nail parts together
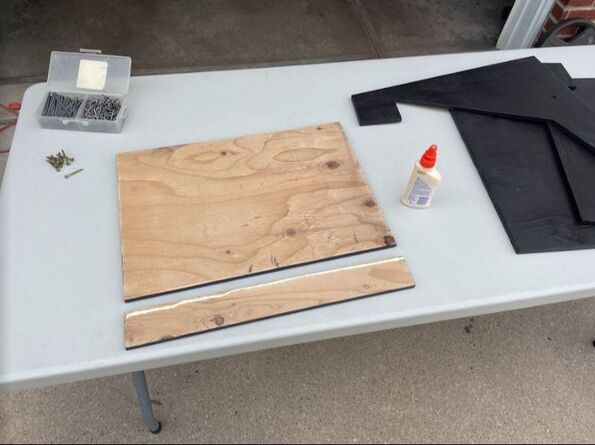
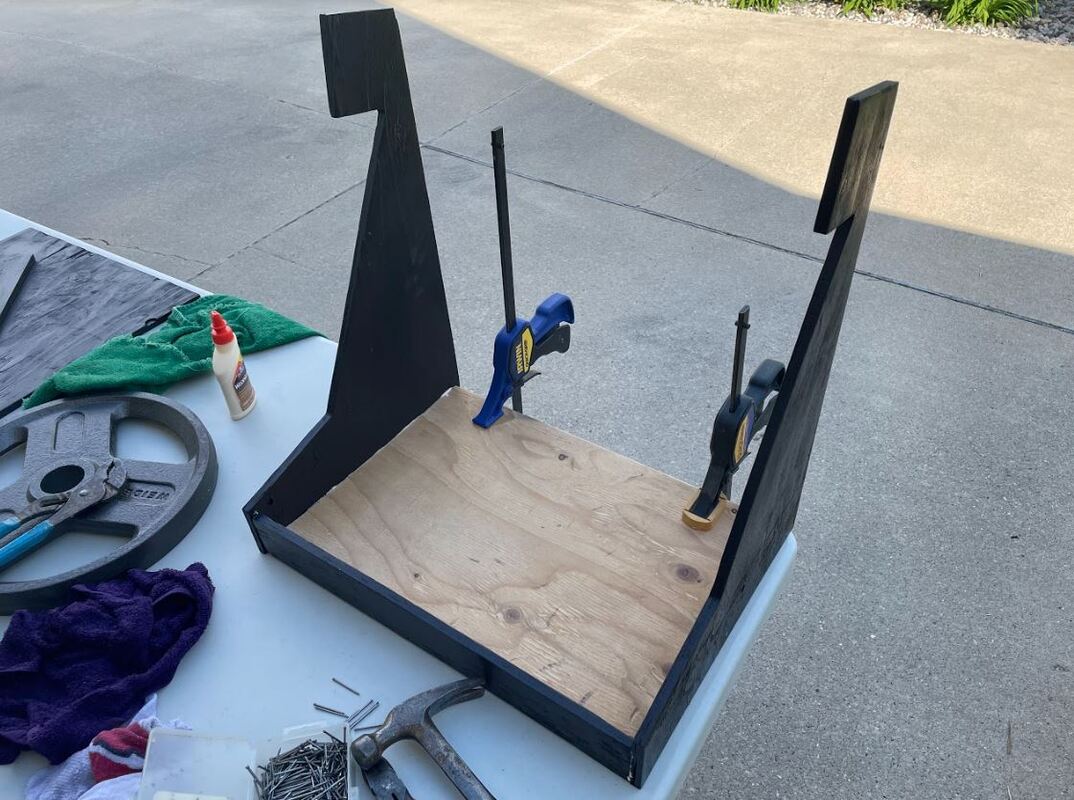
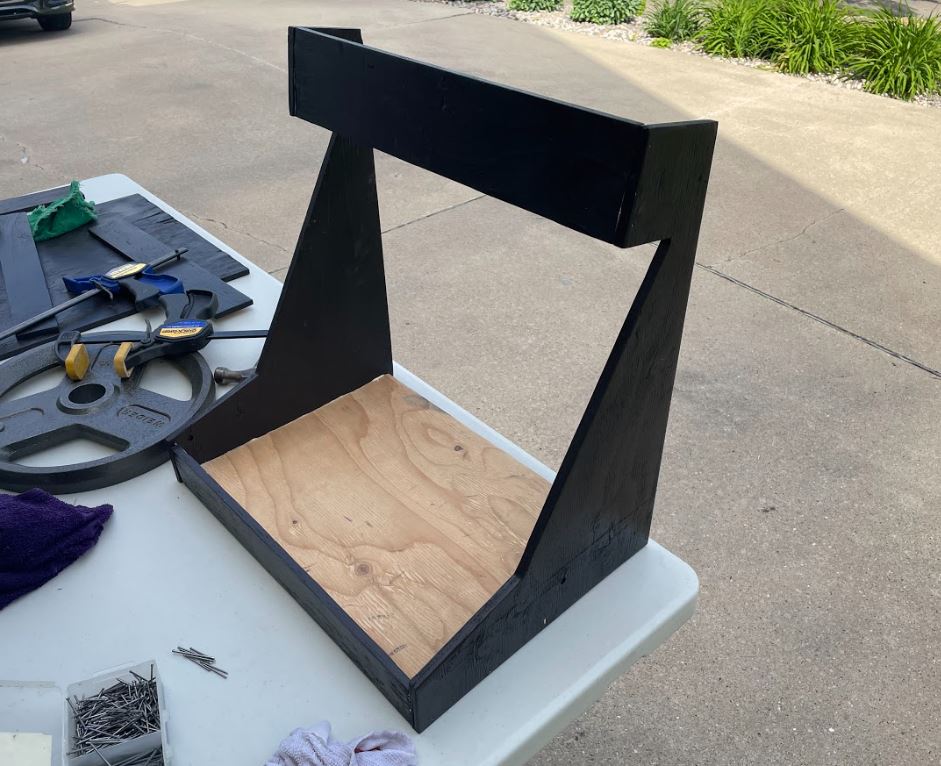
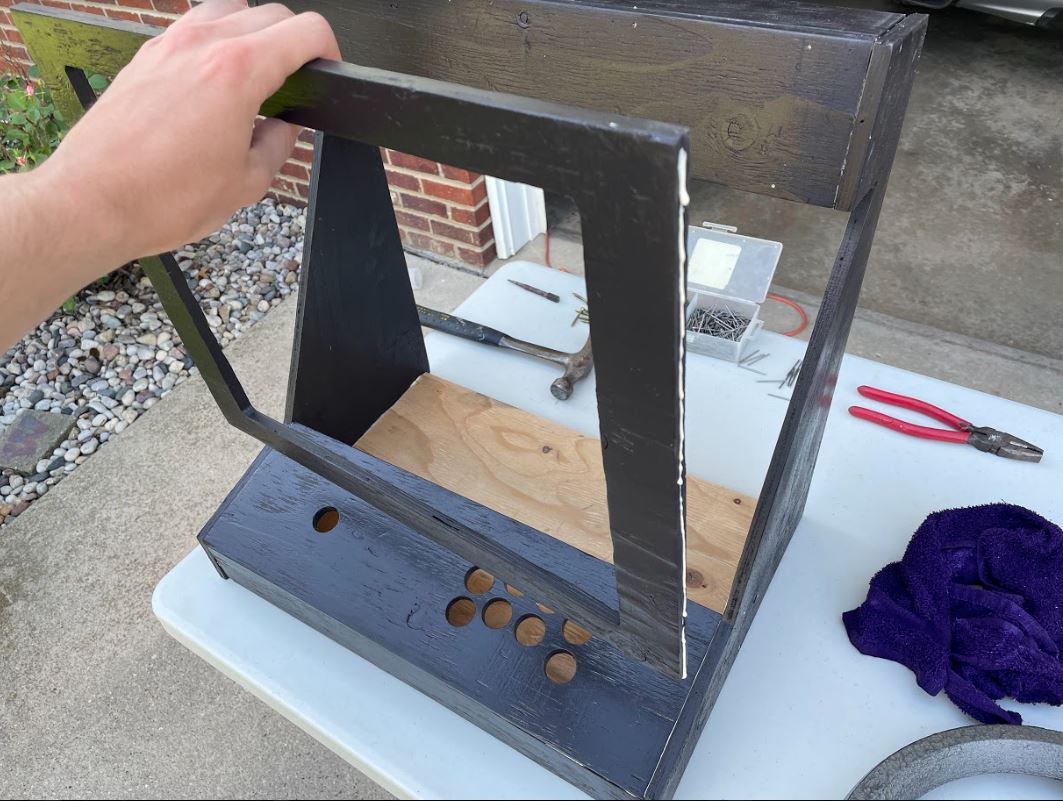
|
The process is pretty self explanatory, but very arduous. The process is as follows glue on edge of piece that is getting put onto machine, stick, clamp, and then put in a reasonable number (3-5) finish screws along the edge to hold it together, then you use a wet towel to remove excess glue, and then a dry towel to remove water. This was a very long process for 10 pieces, all of which just barely fit into the frame. Holding the part while nailing was challenging, but I found using the nail punch to be the most fun in the process. Once all the glue was cleaned up, I had the entire frame to my machine put together and ready to work. It was fascinating how much the finish nails could hold despite not having a head to the nail.
|
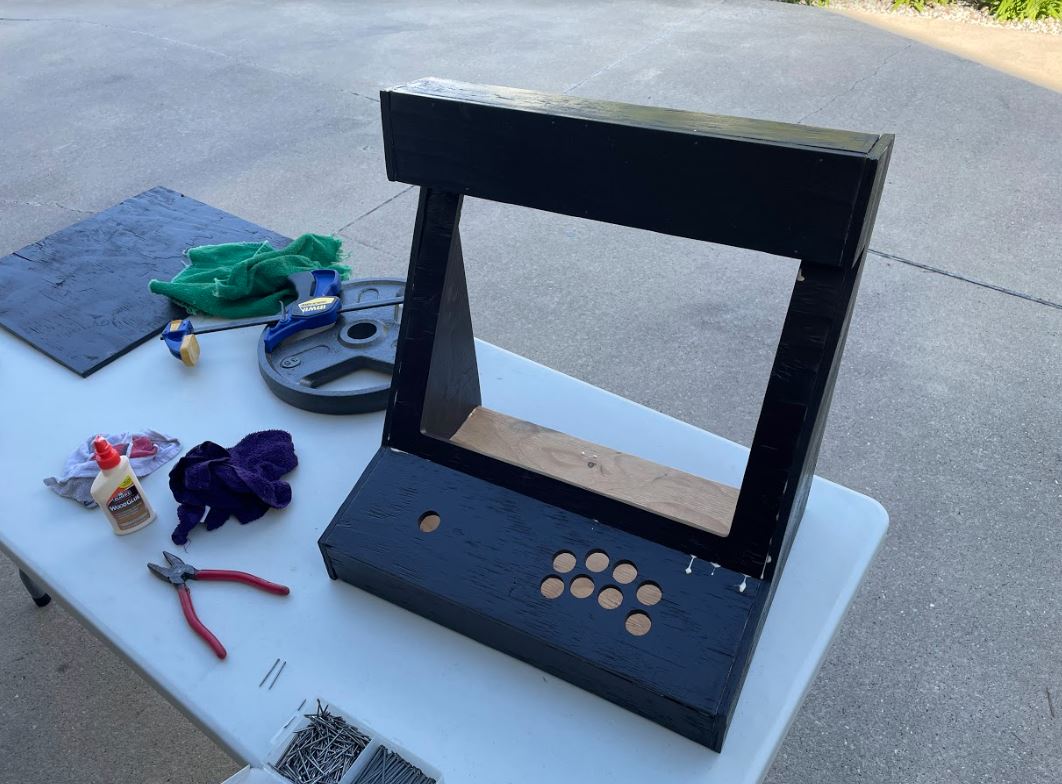
12) Final spray paint
|
I used some saran wrap and masking tape to cover up the inside of the machine so it didn't get a new coat of Dark Walnut. I did this to cover up the nails, any glue steaks, and just to bring the machine together. I added one coat of Dark Walnut, and 45 minutes later, I added a coat of clear paint.
|
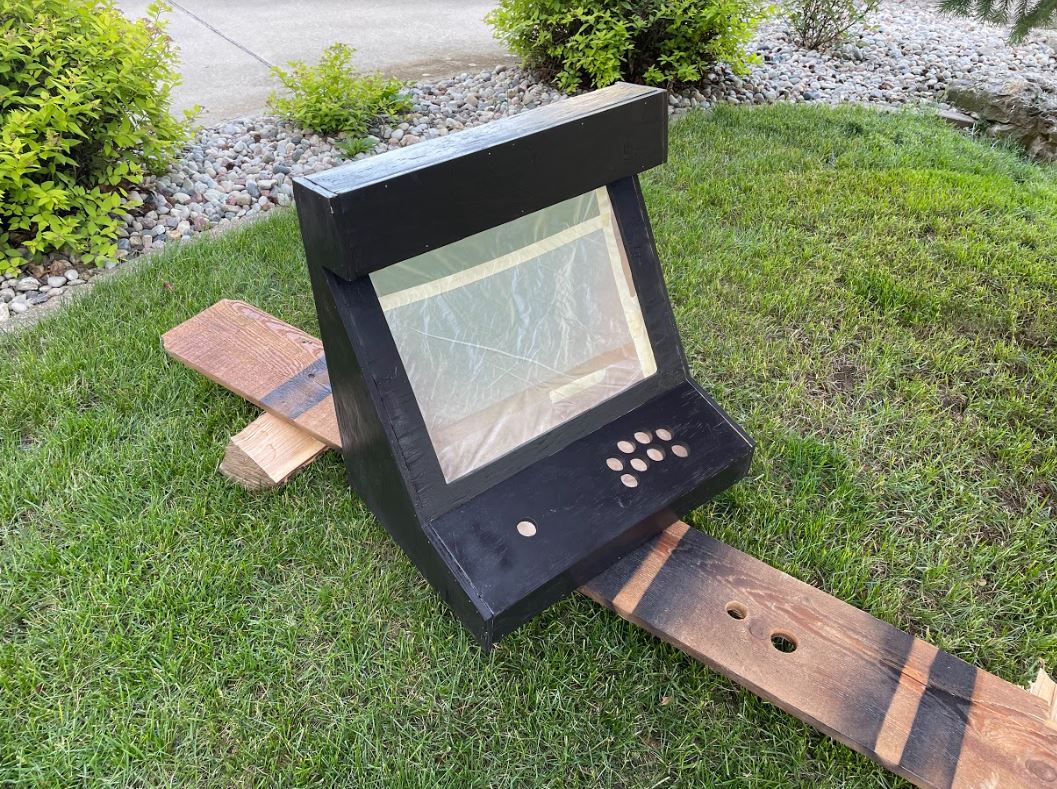
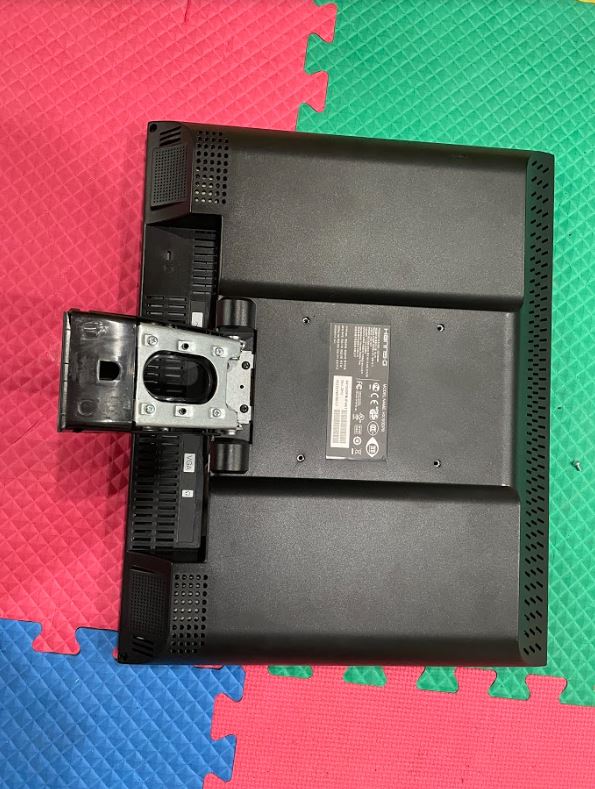
13) Mount monitor
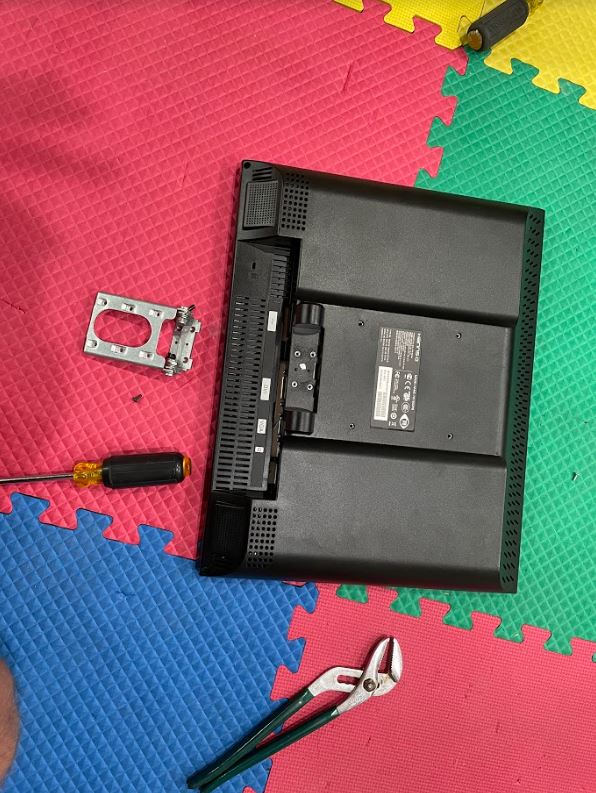
First I had to remove the mount that the monitor currently had on it, which only took twisting of 6 screws.
|
Monitor before removing stand mount:
|
Monitor after removing stand mount:
|
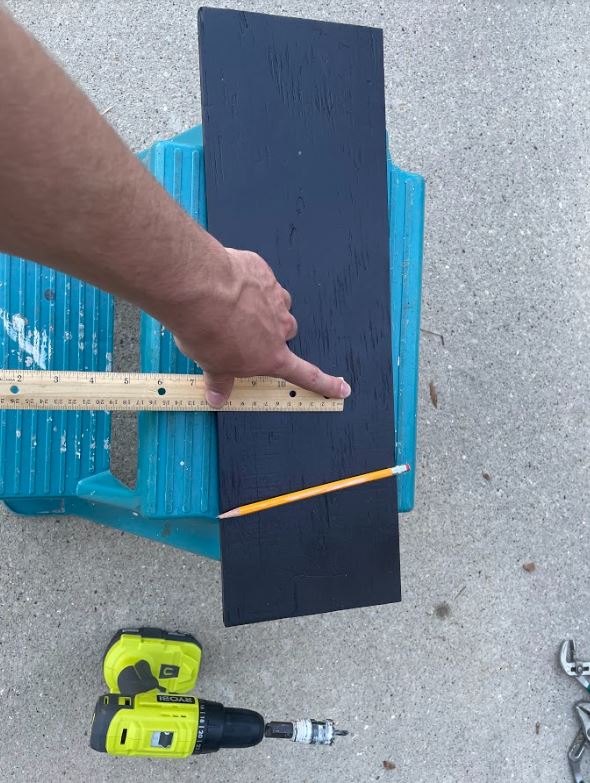
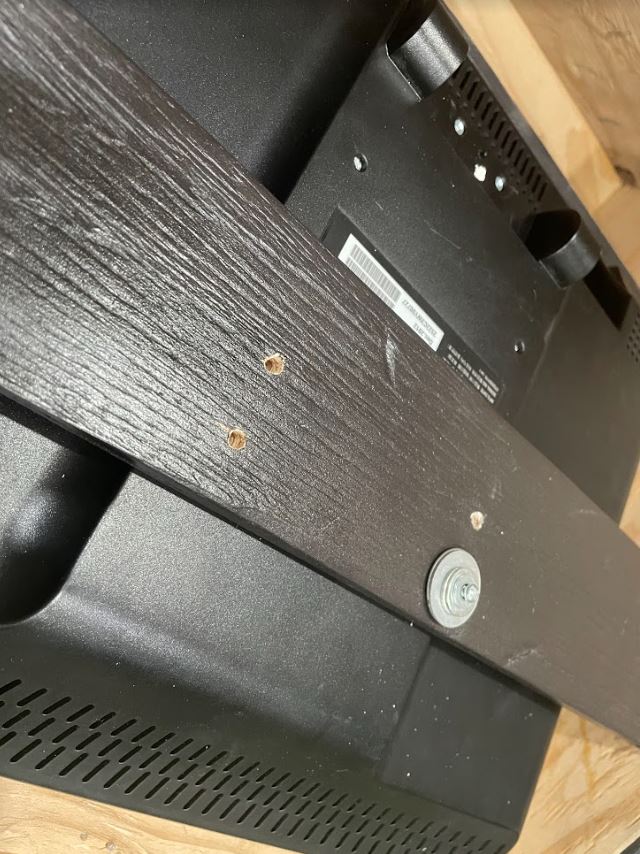
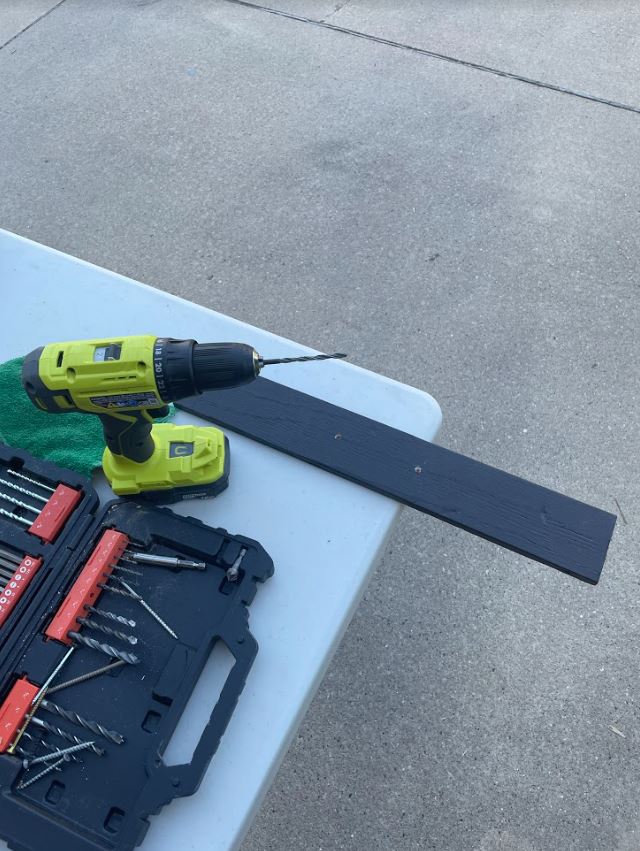
I was unsure as to how I was going to mount the monitor to the case so it was rigid. Thankfully, I routed one extra piece of wood that was perfect for holding the monitor in place. I measured where to drill holes for the screws, cut them, and then used an array of washers to hold the screw at just the right height. Lastly, I nailed the board in place on both sides, and attached the power cord and VGA cord.
|
|
14) Install buttons & joystick
|
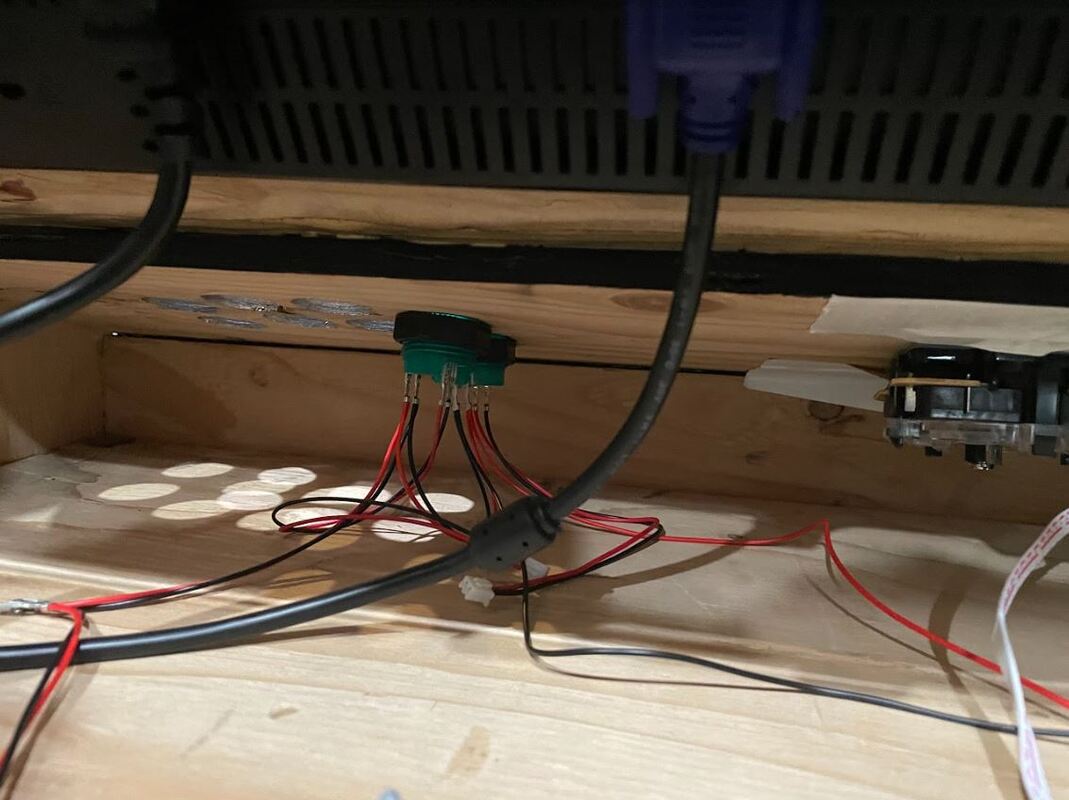
Just starting to wire the buttons:
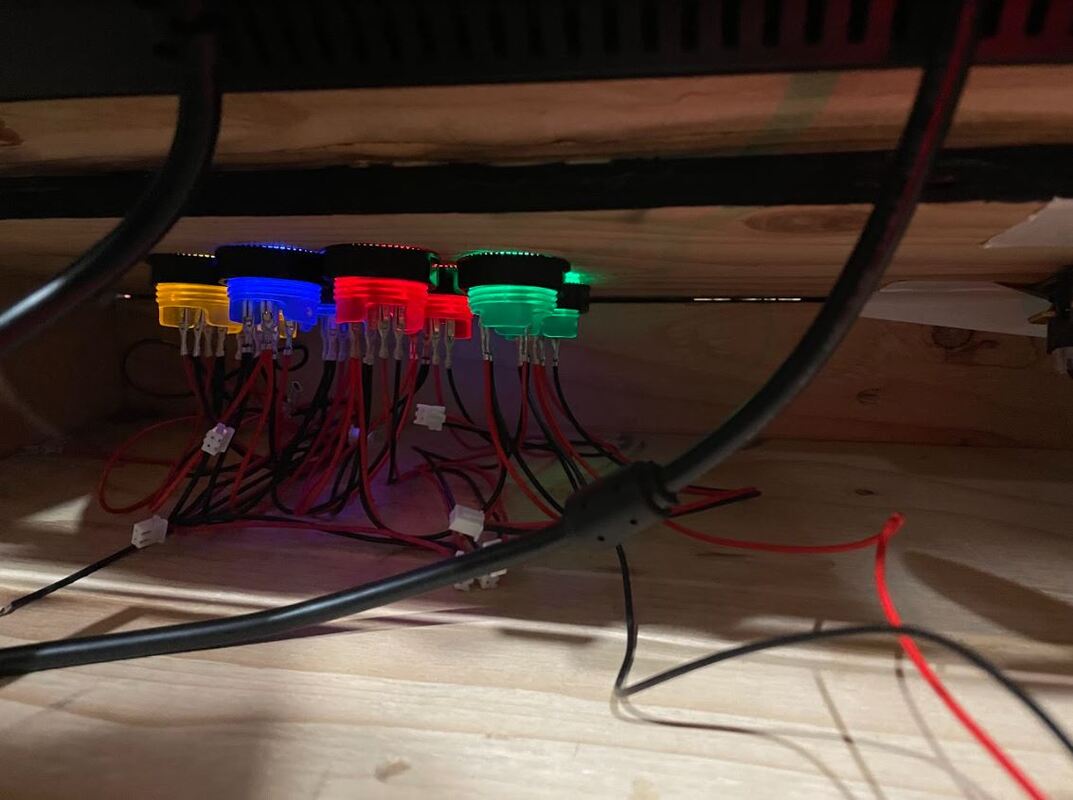
Connected every button to the 5 volt pin, meaning all successfully connected buttons will have LED's on:
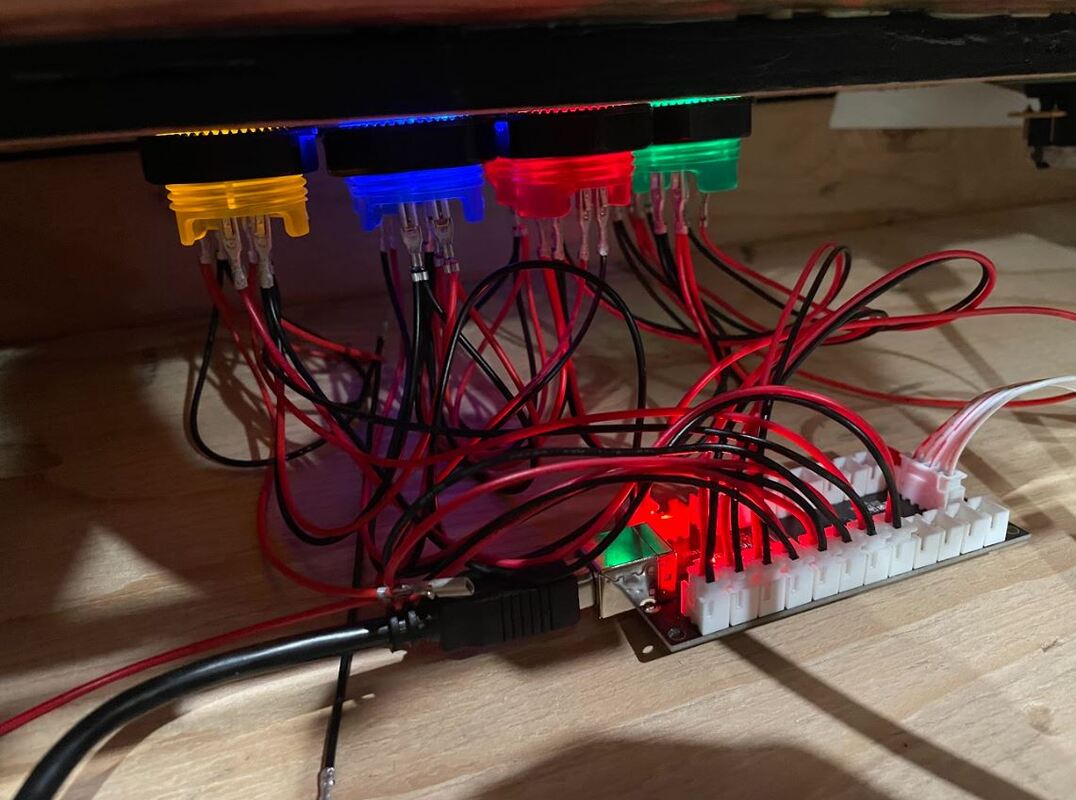
All buttons are set up. LED's are on and input pins are connected and receiving input:
|
It took over an hour to find out how to wire the buttons. There was little/no documentation anywhere on the web, so some trial and error found that red cords = negative charge, and black = positive. I used a 2x10 connecting cord to connected all the LED's to the 5 volt pin, and I used individual 2x1 connecting cords for every button to get it's button input.
|
15) Install Retropie to a MicroSD card
|
Installing Retropie on the Raspberry Pi installer:

Retropie initializing for the first time:
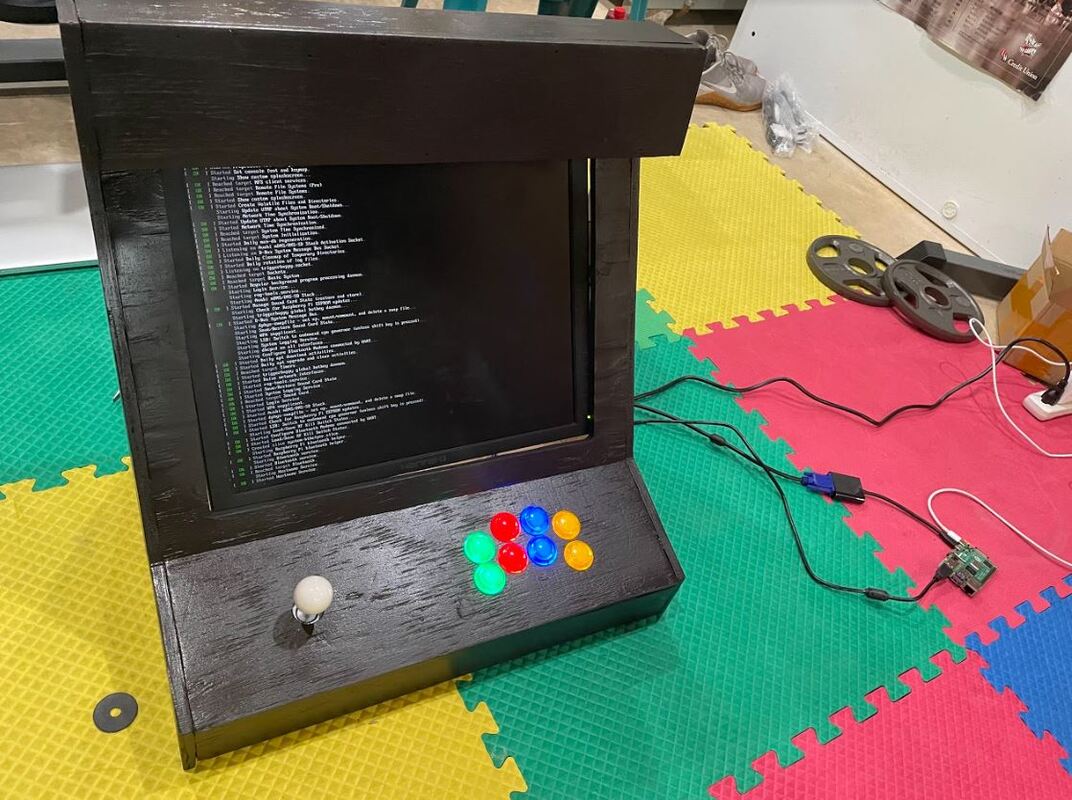
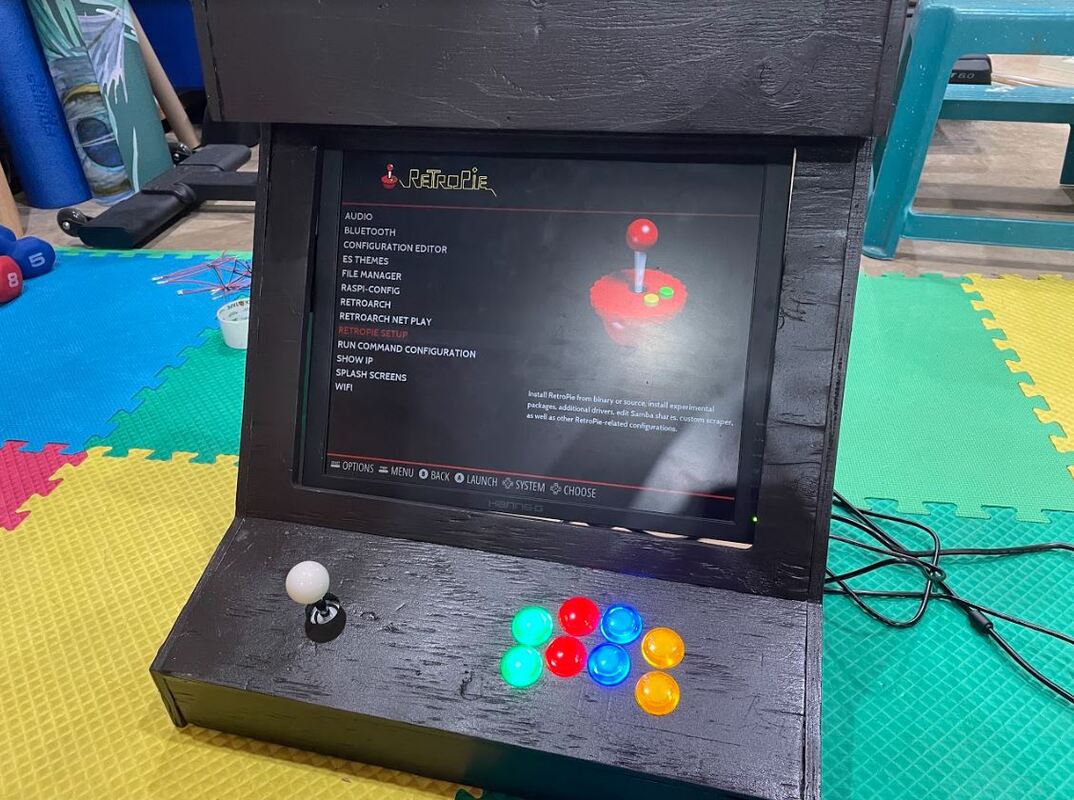
Retropie setting page. From here I connected to wifi and synced games to the machine through my home network.
|
This was the most straight forward process in the entire build. I needed to download the newest copy of Retropie to a microSD card, put the microSD card in the Raspberry Pi, and turn on the computer.
|
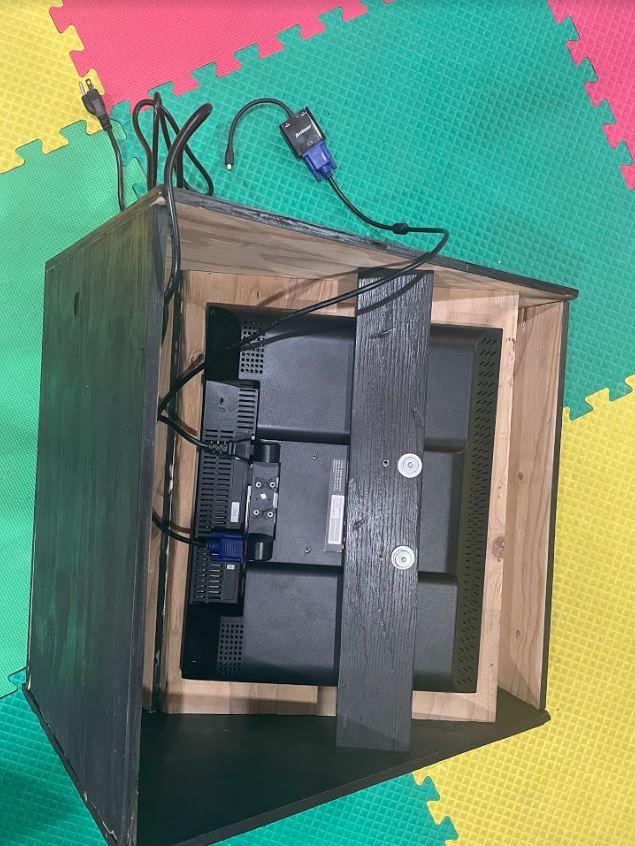
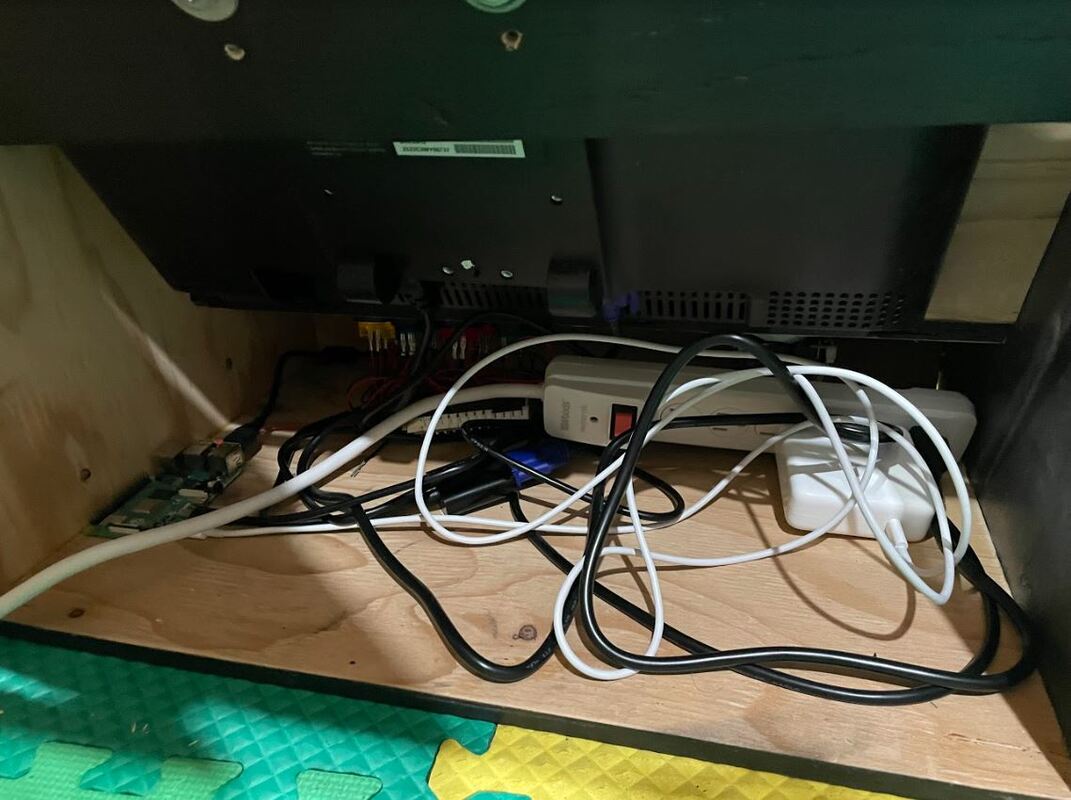
16) Move wires inside the machine
|
Not a huge fan of organization to be frank. I could've taken the time to clean up this, however the functionality of the machine doesn't change.
|
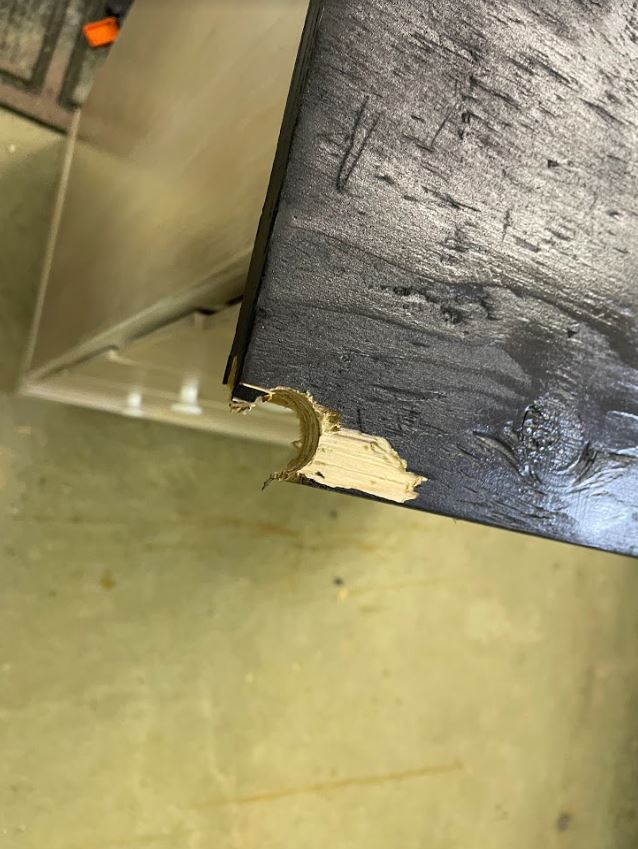
17) Drill out hole for extension cord
|
Before drilling:

After drilling:
|
Only issue with this was chipping of part of the exposed side. If I was to do this again, I'd go slower and move away from the edge of the board. Either way this hole will serve it's purpose.
|
18) Nail on the back
|
With this nail (and another symmetrically placed), the back can hinge open for easy access to hardware. The bottom of the back does not have a nail holding it in place because the only way to practically access the back is without tools.
|
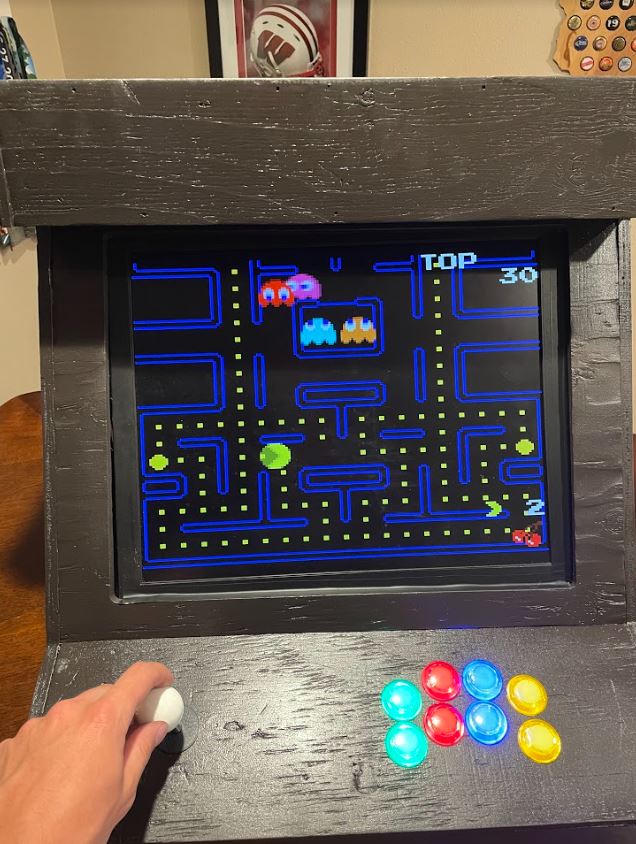
19) Enjoy!
This has been a heck of a 5 day journey! I'm glad it's wrapping up but I did genuinely learn a lot.
This project has really taught me the importance of not procrastinating. Doing an entire final project in 5 days is unhealthy, terrible practice (especially given I had 18 weeks), and overall affected the potential grade I could've gotten due to the rushed nature of everything. I definitely walked away from this project with a valuable lesson in doing your work on time.
If I were to do this again, I'd start working on it earlier. I'm definitely proud I made a working arcade machine, but the stress of everything wasn't remotely worth slacking off for 17 weeks.
|

|
