Step by step process for creating a 3D printed screwdriver holder
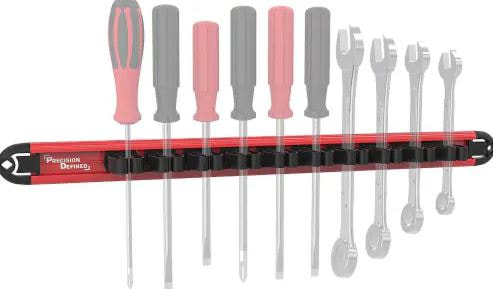
1) Research ideas on the internet

|
|
I knew that I wanted my design to be very minimal and make the tools easy to access for the user.
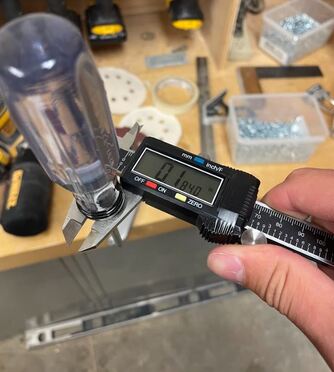
2) Measure screwdrivers
|
I then had to document the largest and smallest screwdrivers so that I had a set limit of sizes for the holes on the holder. The collection of data is critical for a working design.
|
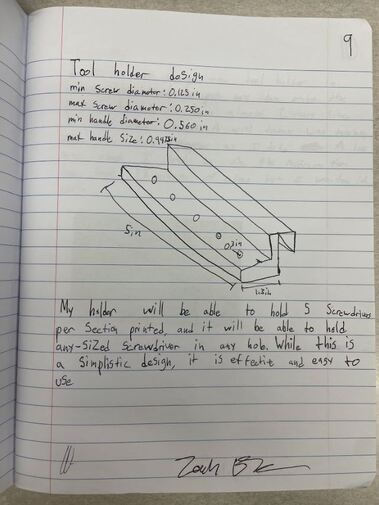
3) Sketch ideas in notebook
|
I came up with a generally simplistic design that had 5 holes in a 5 inch wide holder. If I wanted to expand upon this, it would be easy to add modifications from this initial design.
|
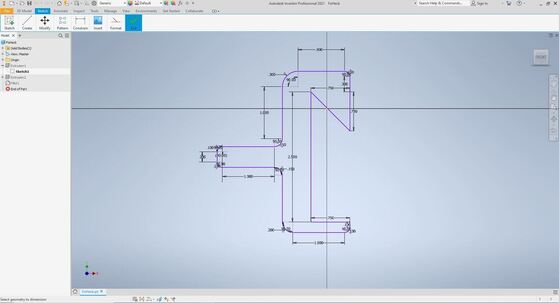
4) Create a 2D sketch on Inventor
|
I got this rough sketch in inventor. It encompassed very few points/hard angles, and rather it used rounded edges to increase structural stability and for overall aesthetic improvement.
|
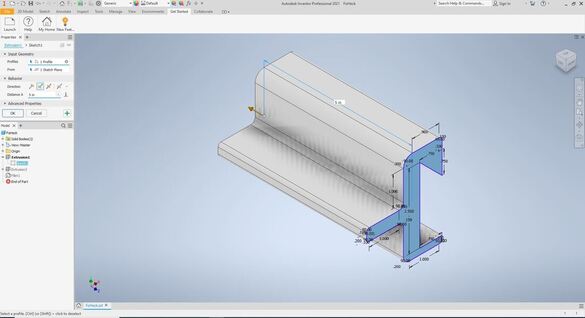
5) Extrude your sketch
|
I had to extend the sketch, which I set to 5 inches.
|
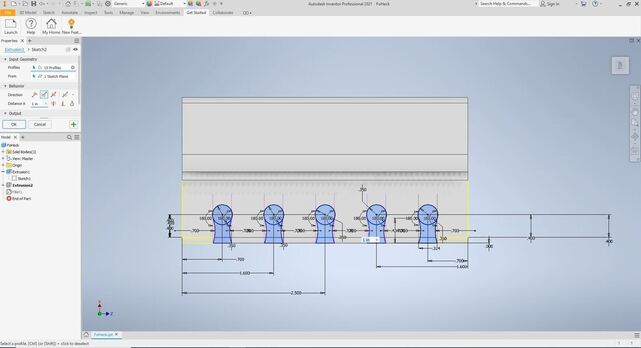
6) Sketch holes for screwdrivers
|
I used a very slight angle so that every screwdriver would just barely fit, making it so that the user had to put it in correctly so it would store in proper position.
|
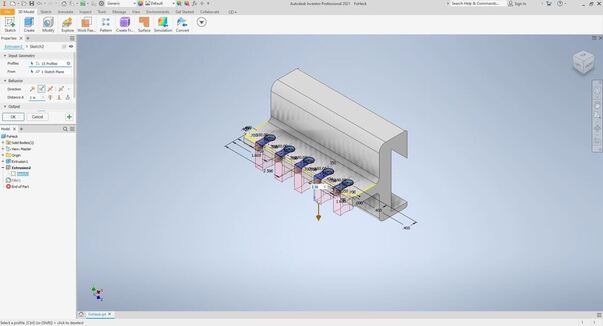
7) Extrude holes for screwdrivers
|
I then cut out/extruded the holes so there was space for the screwdrivers to sit.
|
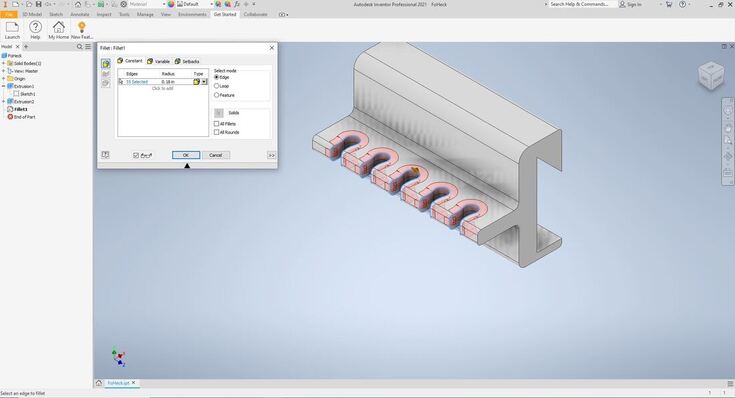
8) Fillet holes for screwdrivers
|
This came to me later in the design decision process, but I decided to fillet each hole. This added to the 'round' aesthetic of the part, to keep consistency among.
|
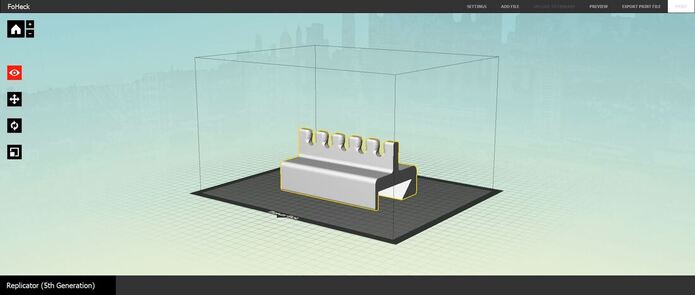
9) Load on to and set up on MakerBot software
|
I then loaded ,my final part into the bot software, where I positioned it correctly and scaled it up 1000%.
|
10) View print preview

|
The print had an estimated print time of 5 hours and 56 minutes.
|
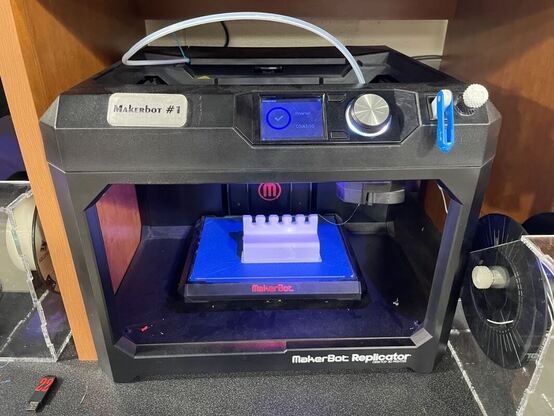
11) Print part on 3D printer & remove raft
|
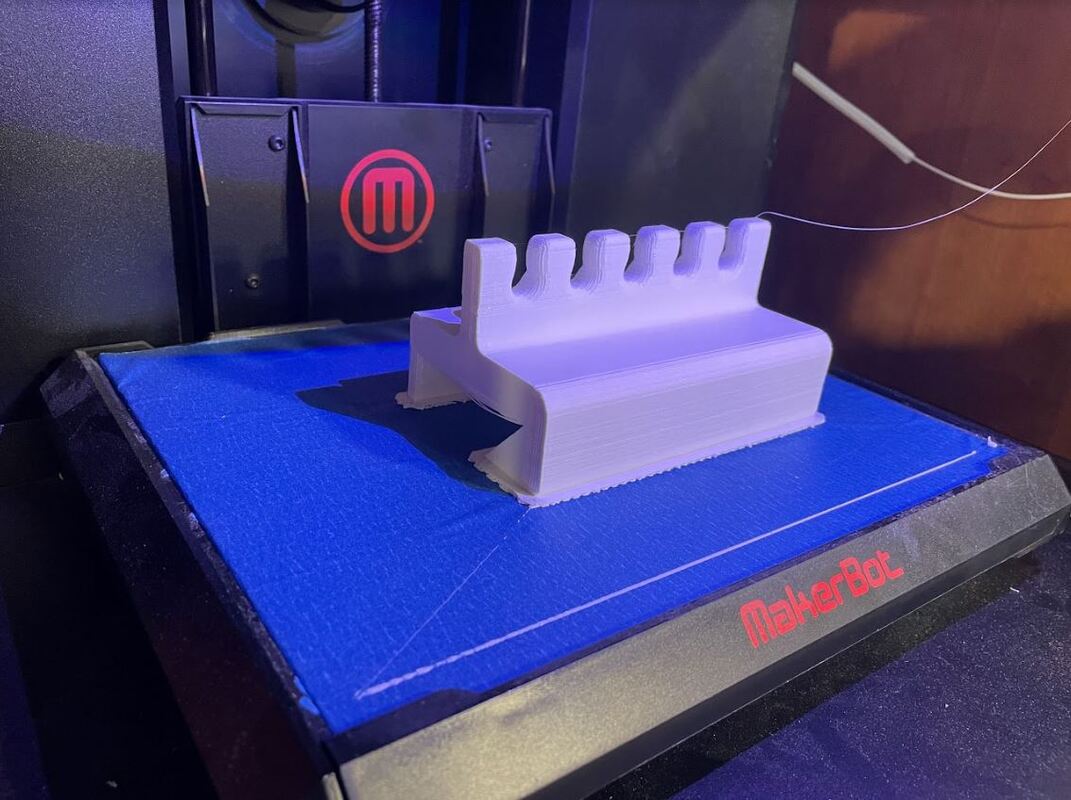
|
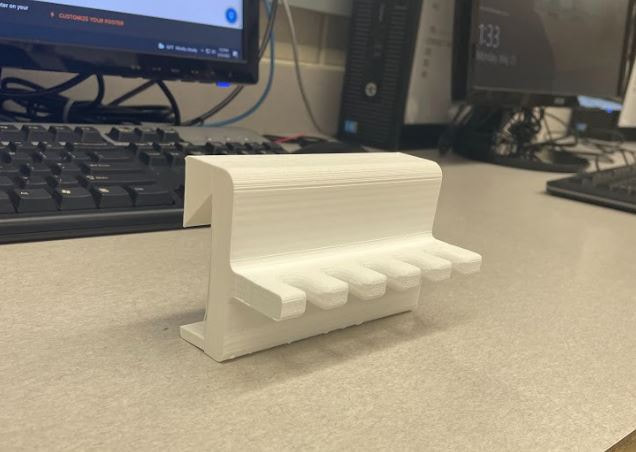
Finished!
In this project, I learned how to practically apply design method to make a practically functioning part. I started out with little information and make a part that can hold tools. I needed to record measurements, design a part, and print it so that it can hold different sized screwdrivers. It ended up taking a long time due to procrastination but it's done and it works. I also learned several new features in Inventor, such as the filet tool and how to add a 2D sketch on a 3D plane. Creating this project required a significant bit of research and measurement before hand to ensure it would hold the parts in the real world.
|

|
