Step by step process for creating a 3D printed screwdriver holder
1) Research ideas online
|
There wasn't a whole lot of research to be done for this project. I had a general idea of what I wanted, and I looked at a few examples of heat press designs on pants to see where I should go, in terms of positioning on pants.
|
2) Sketch ideas in notebook
|
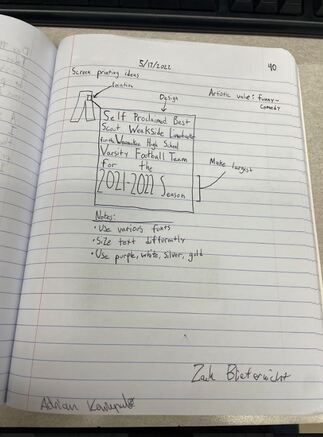
The pocket/right hip location was best for a design like such. I then went with a block style, where all my text will fit in a precise 4x6 inch box. This would allow for various vertical and horizonal sizes, depending on font and line length.
|
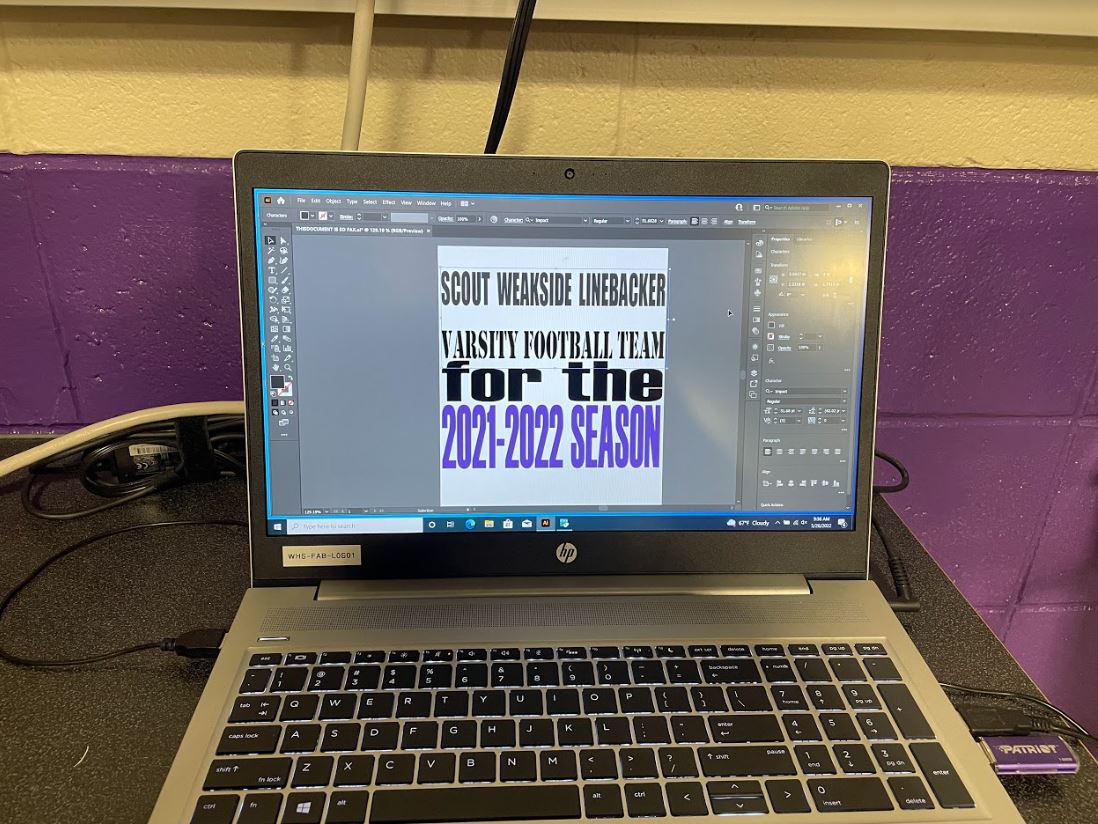
3) Create design on Adobe Illustrator
|
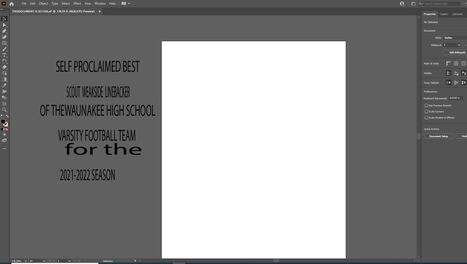
I got all my text put into Adobe Illustrator, line by line. This gave me a rough idea of what I had to work with, and now I could play around with sizing and fonts.
|
4) Change fonts and colors and sizing
|
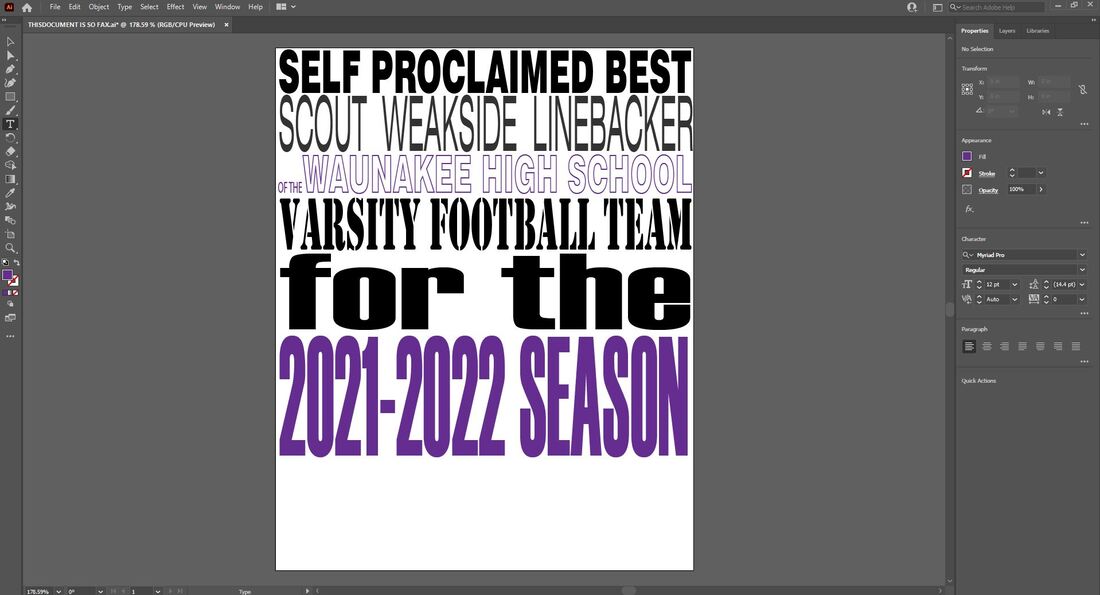
I used 6 different fonts, one for every line, and found that I had a 1 in space left blank at the bottom of the work space, which wasn't an issue. I wanted to use white (shown as black so I could see the text), purple, silver, and gold as colors which are generally used in spirit wear for the Waunakee Football program.
|
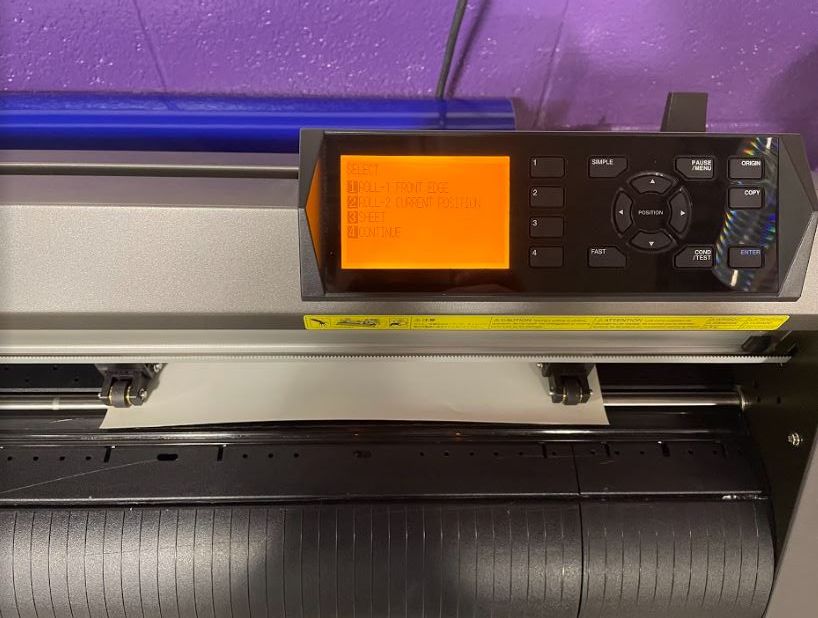
5) Set up on Cutting Master 4
|
I loaded the final design onto Cutting Master 4, where I encountered the issue of fonts. The computer didn't have 3/6 fonts I used so I had to make some brief changes and move along. This error didn't pose a huge threat to the projects looks or functionality.
|
6) Cut vinyl
|
I then went looking for my 4 colors when I encountered an error: there wasn't any silver. After consulting with Mr. Wilauer, I decided I'd use a very small area of blue text for "OF THE" on the "OF THE WAUNAKEE HIGH SCHOOL" line. Otherwise, there we no issues with this process. It took roughly 15 minutes to cut out my 4 colors and that went smoothly.
|
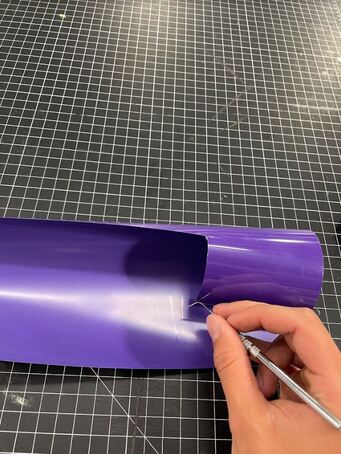
7) Pick and peel vinyl
|
I then had to remove the surrounding heat transfer so only my text was left. This was a mindless and fun task. I used dental tools to remove the heat transfer scraps.
|
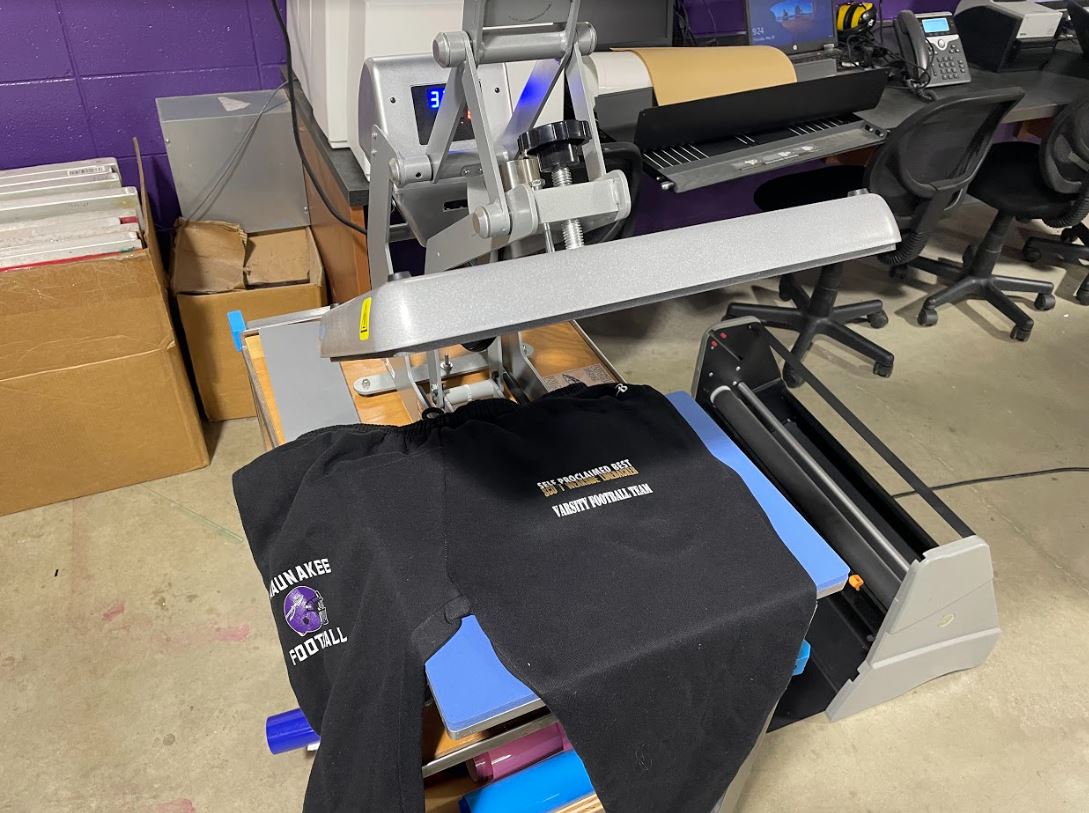
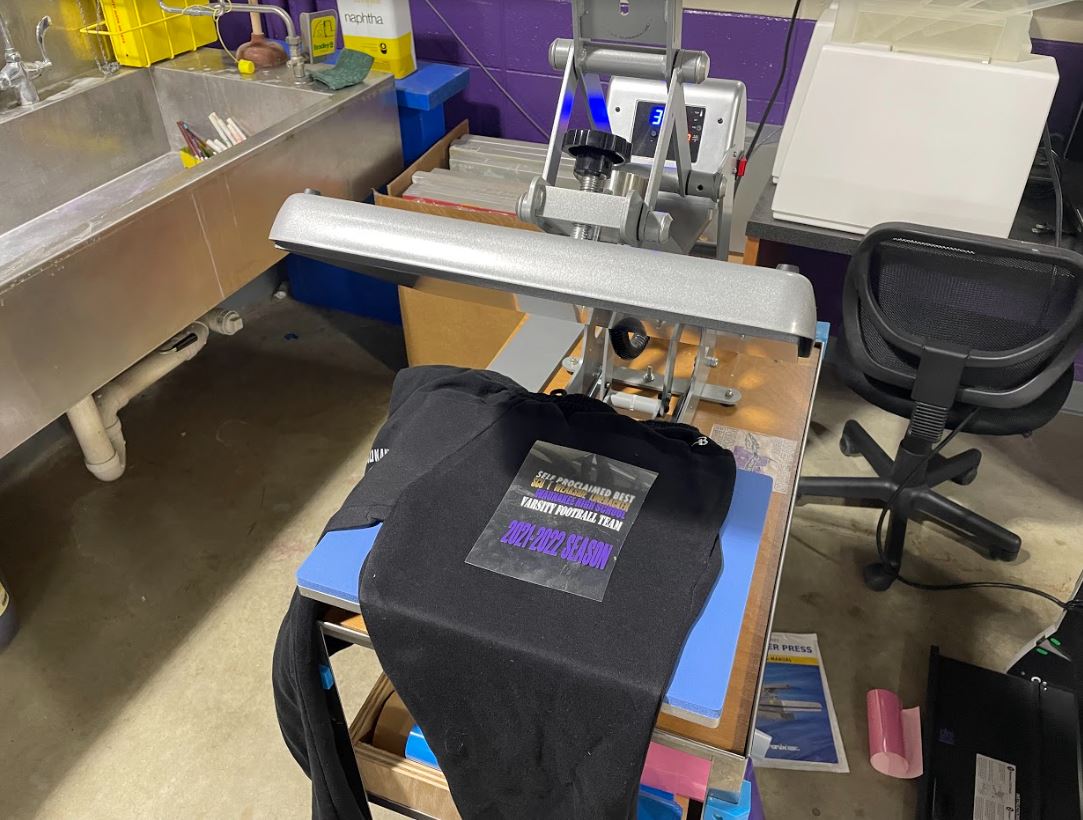
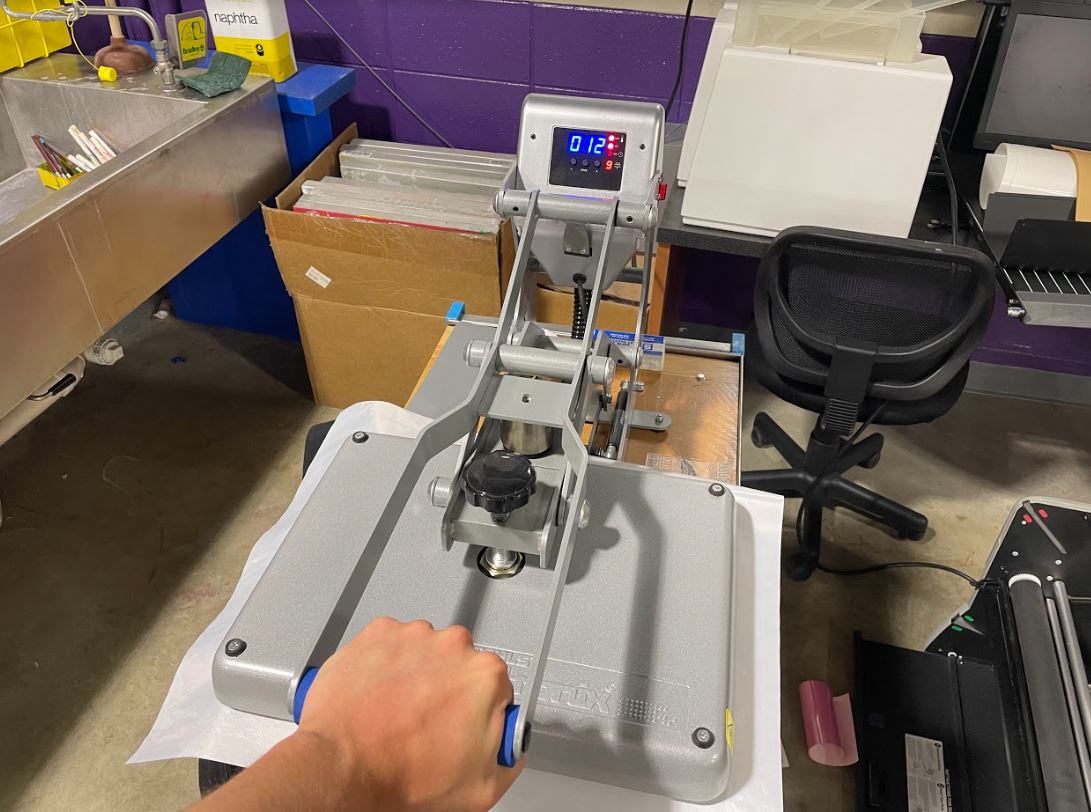
8) Position and heat press vinyl, one color at a time
|
|
|
You place the adhesive side down so it sticks to your article of clothing, and then press down for 15 seconds. Then, you lift up on the handle and remove the plastic adhesive layer, displayed in the middle image. I did this 4 times, once for every color. The only issue one might encounter is your clothing heating up too much throughout the process, so on the last 1-2 presses, you put down a plastic layer so your heat transfer doesn't stick to the heat press.
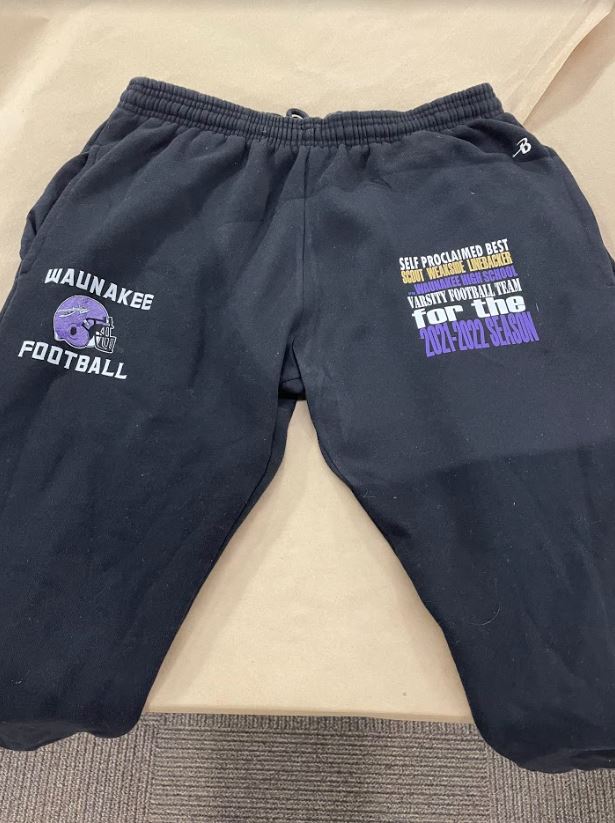
9) Let cool, and you're done
|
After what was likely the most fun project so far, I have my heat press project done. I learned how to heat press clothing, one of two widely used ways to display graphics on clothes. It could be very valuable in that if I want to make my own article of clothing, I could do so with out needed to pay for a custom print service.
|
|
