Autodesk Inventor is a CAD(Computer Aided Design) Program that is very versatile to fit any of the users needs. It is a 3-dimensional software that people can use to create objects weather they're a student gaining knowledge in CAD or an engineer designing a new part for a product of mass production. We used it to create 6 different widgets that we then chose one to 3D print out. I
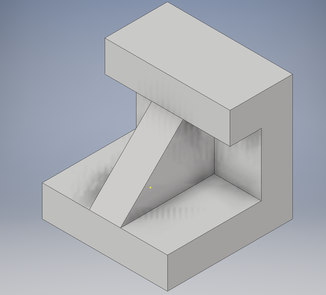
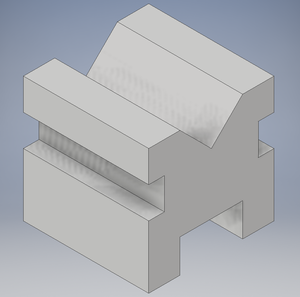
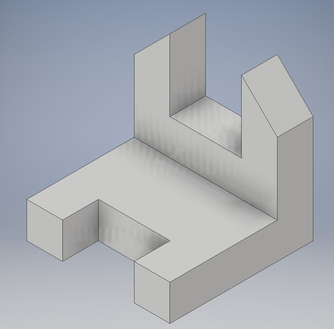
These are the 5 widgets we designed in Inventor but did not print out.
|
|
|
|
|
Road to 3D printing an object
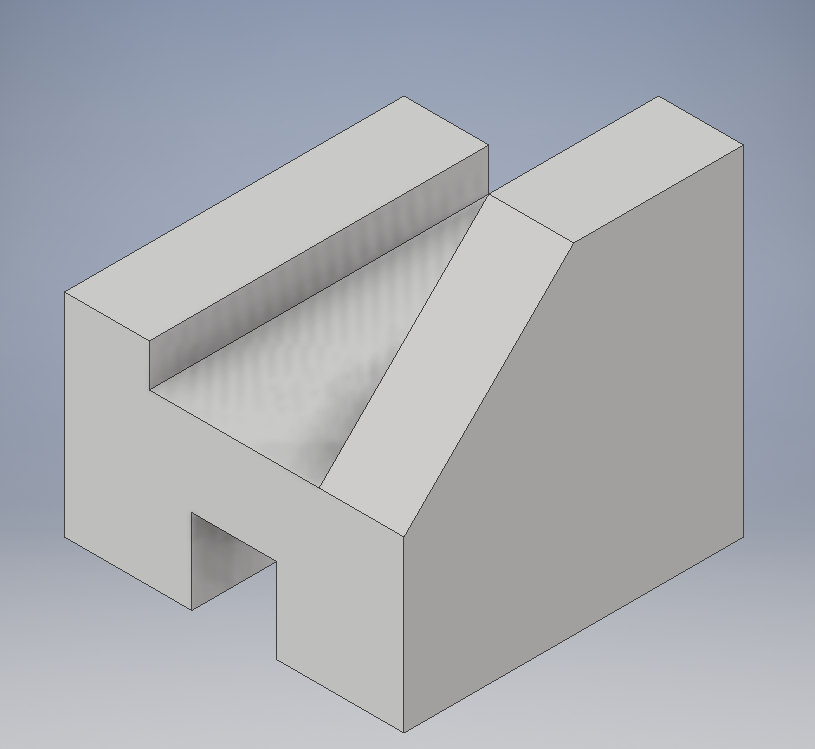
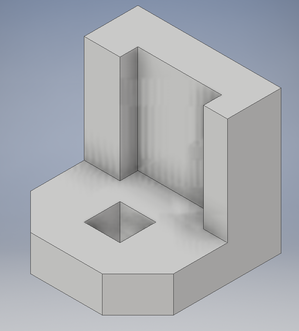
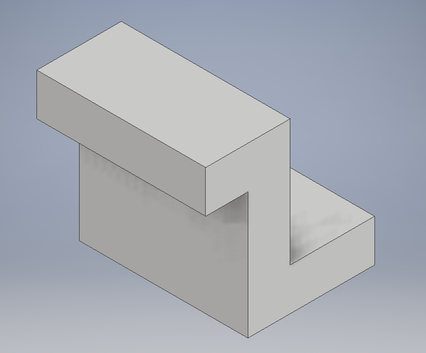
This is the object that I chose to 3D print in the drawing stage. We replicated the image from another sheet and had to match dimensions.

This is the final product of the shaped and dimensioned widget in the Inventor program.
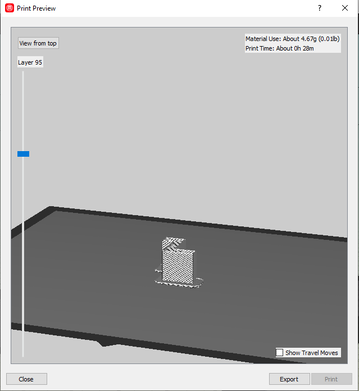
Inside of the Makerbot program, you could see every layer that would be printed, which is shown below. This is called the preview screen where you could preview the print on the inside and out.
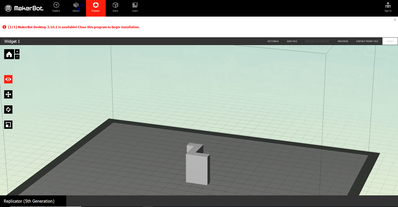
Inside of the Makerbot program, made by the 3D printer manufacturer, we resized the shape and set all perimeters to make sure no errors would arise.
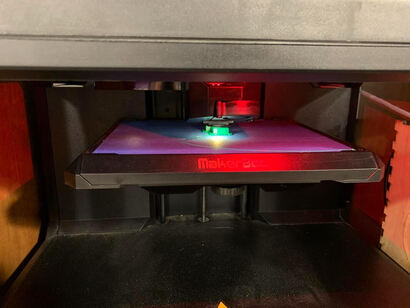
This is a picture of the widget being printer. At that point, it was 15 minutes into the 40 minute print.
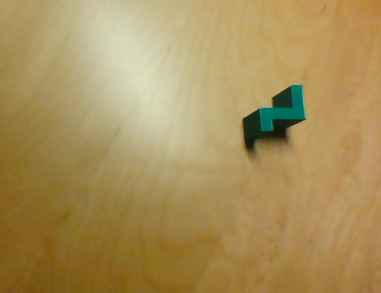
The final product gave me a well build, One inch cubed widget.
Through this process, I learned many import things, most predominant being the process of building a object from scratch and 3D printing it. It was fun to see it come together and worth the 40 minute printing wait. The processes could be timely but if I sent some more time with the software, I could make that process much more efficient and better my knowledge of the tools to my availability.
